Did you start crocheting recently? Have you come across a slip knot in a crochet pattern? If so, you might be wondering how to make a slip knot. In this beginner’s crochet tutorial with easy-to-follow pictures, you’ll learn everything you need to start your project.
If you’re someone who needs a visual, there’s also a video to follow along with as well!
A slip knot is a fundamental element when starting any crochet project and it’s very easy to master for beginners.
What is a Slip Knot?
A slip knot is used to create the first chain of your project.
When my mom taught me to crochet almost 20 years ago, she did not teach me the slip knot. I would just tie a loop and cast it on the hook. Needless to say, this left my early projects looking pretty uneven.
You live and learn, right?
Why use a Slip Knot in Your Crochet Projects?
Slip knots make it easy to adjust the knot to the hook. You call pull and tighten without the worry of the knot tightening completely. This helps keep your starting chains even.
A slip knot also sets a good rhythm for your crochet project. The first building block that will lead to a great finished piece!
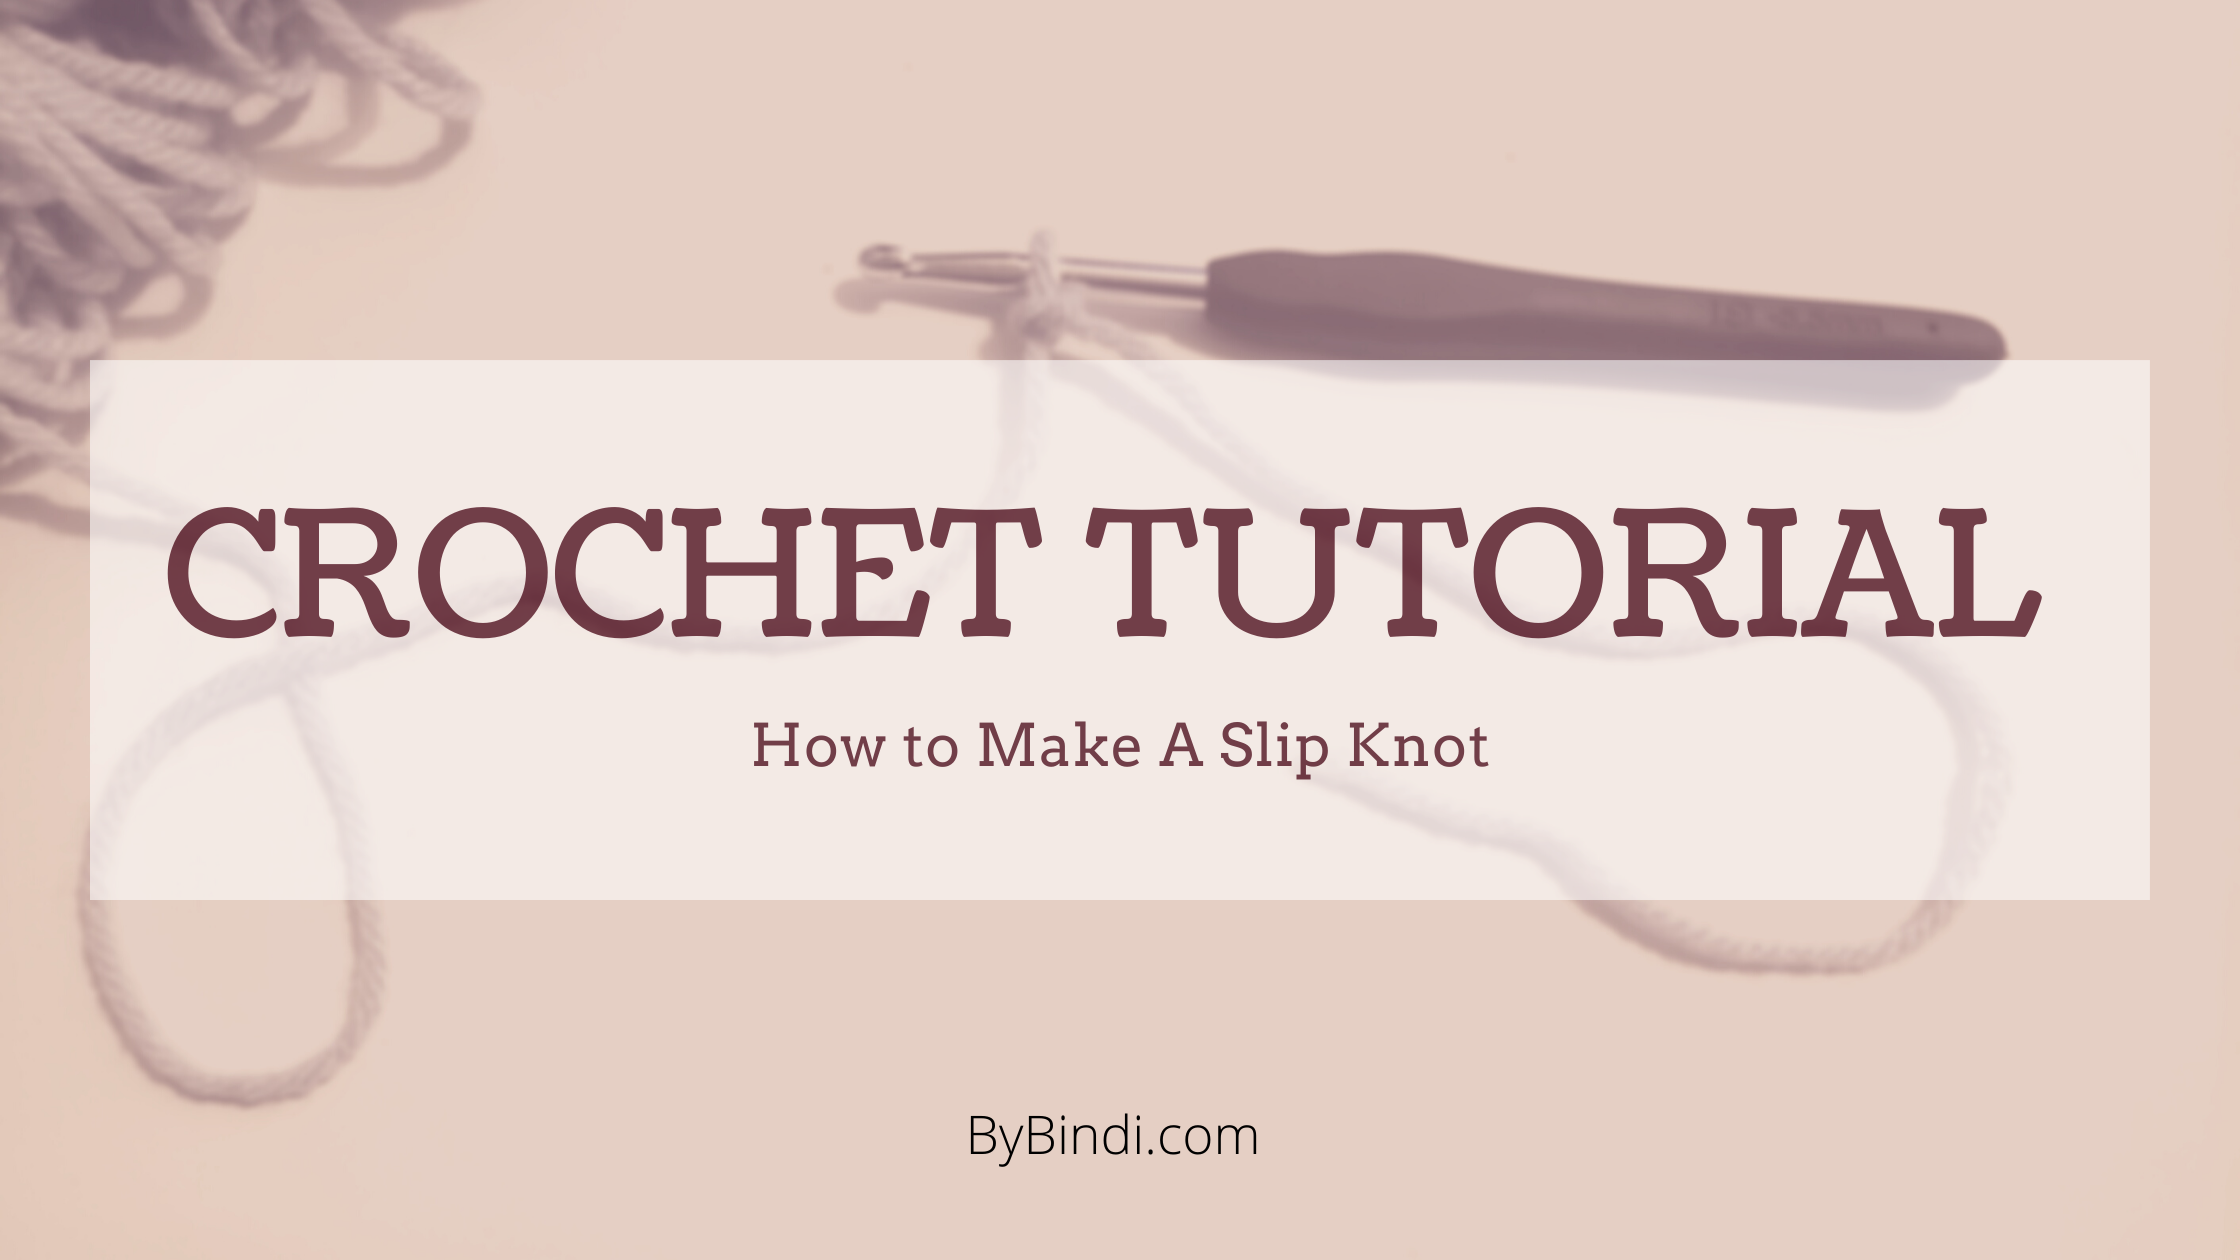
A Beginner’s Guide to Crocheting: How to Make a Slip Knot:
This post contains affiliate links. If you use these links to buy something I may earn a commission. Thanks!
Supplies:
Yarn
Notes:
For this tutorial, I used an I9 crochet hook and medium worsted acrylic yarn. When you are a beginner crocheter, it’s easier to work with yarn that is cheaper and a little thicker. It’s more forgiving.
If you don’t have a crochet kit, this is the one I use. It has many hooks in various sizes and comes with a cute pouch. I love it because it has everything I need ready to go and keeps me organized.
Instructions:
Leave 6-8 inches of yarn tail and make a loop around your finger with the yarn.

Take your yarn tail and throw it across the loop on your finger.

From behind, bring the yarn tail to the right side. You will form a pretzel.

Insert crochet hook through the yarn in the middle of the pretzel and pull up.

Tighten as needed.

Congratulations! You’ve completed a crochet slip knot.
I hope you found this beginner’s guide to crocheting helpful. Now that you know how to make a slip knot, you’re on your way to making all the crochet pieces!


[…] A Beginner’s Guide to Crocheting: How to Make a Slip Knot […]
[…] a slip knot onto your crochet […]
[…] February 15, 2021: Beginner’s Guide to Crocheting: How to Make a Slipknot […]