Posted on 1 Comment

Quick DIY Turmeric Yogurt Face Mask for Glowing Skin

DIY Turmeric Yogurt Face Mask with Essential Oils

I absolutely love face masks. They’re a perfect way to sit back and relax while giving your skin some TLC. This Quick DIY Turmeric Yogurt Face Mask for Glowing Skin is a great addition to your beauty routine. 

Clean beauty and making skincare products are one of my favorite things because I control the ingredients. 

This face mask isn’t anything new.  Turmeric has been used for centuries in India to prep brides before their weddings. I grew up in an Indian family that used turmeric internally and externally as it provides so many wonderful benefits. 

The addition of yogurt and essential oils takes this mask to another level that will leave your skin soft and glowing! A bonus is that this mask can also double as a gentle face wash. Recently I used this mask consistently leading up to my wedding and absolutely loved the results!

My family and friends also noticed the healthy glow to my usually dull skin too. 

turmeric root and powder for glowing skin

Let’s get started.

DIY Turmeric Yogurt Face Mask 

Why Make Your Own Face Mask?

Many beauty products are filled with chemicals and preservatives and are simply not sustainable for the environment with plastic packaging. With a homemade face mask, you know exactly what you’re putting in it.  You control the ingredients and know with certainty what you place on your body.  

Making face masks at home is fun, easy, and cheap! My husband and I like to make them during our weekly self-care Sunday evenings.  We enjoy the relaxing time together, and it bonds us.  You can make this face mask for yourself or a fun girl’s night in! And the yellow makes for cool photos for the gram!

Benefits of Turmeric Face Mask

This face mask is a powerhouse for skincare: 

  1. Glowing Skin
  2. Soft and Smooth Skin
  3. Antiseptic
  4. Brightening
  5. Moisturizing
  6. Non-Toxic
  7. Plant-Based

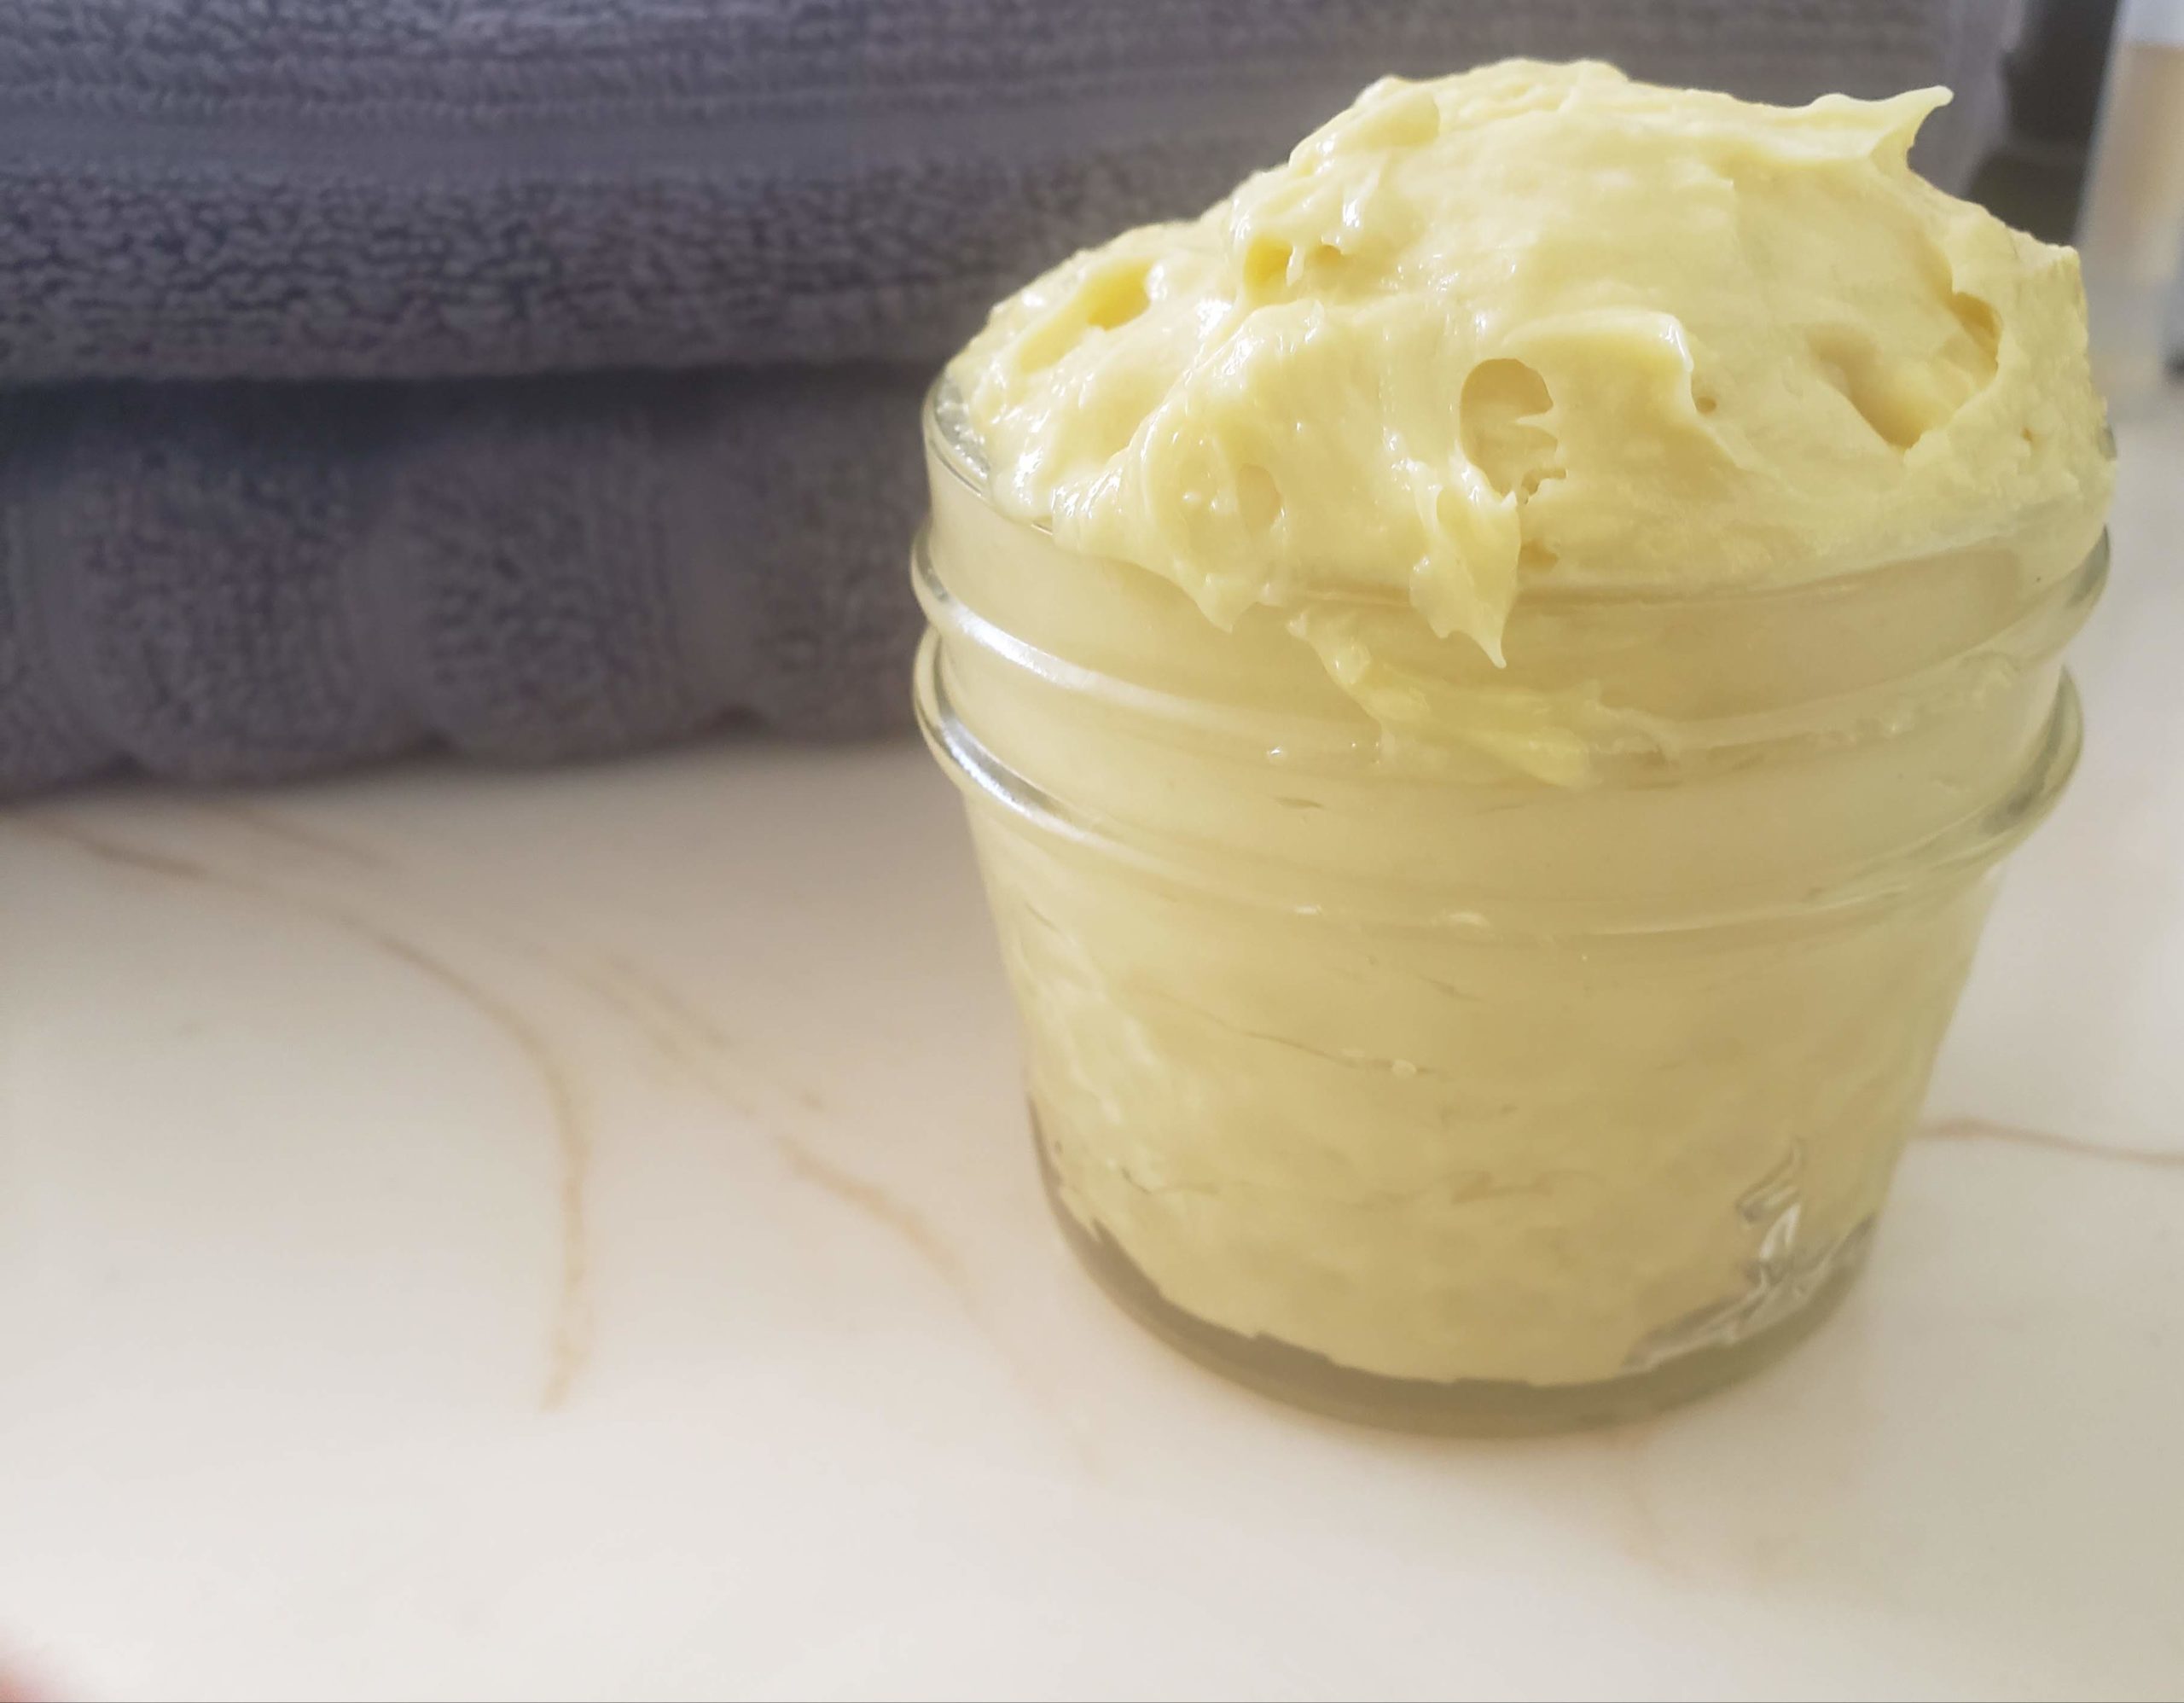
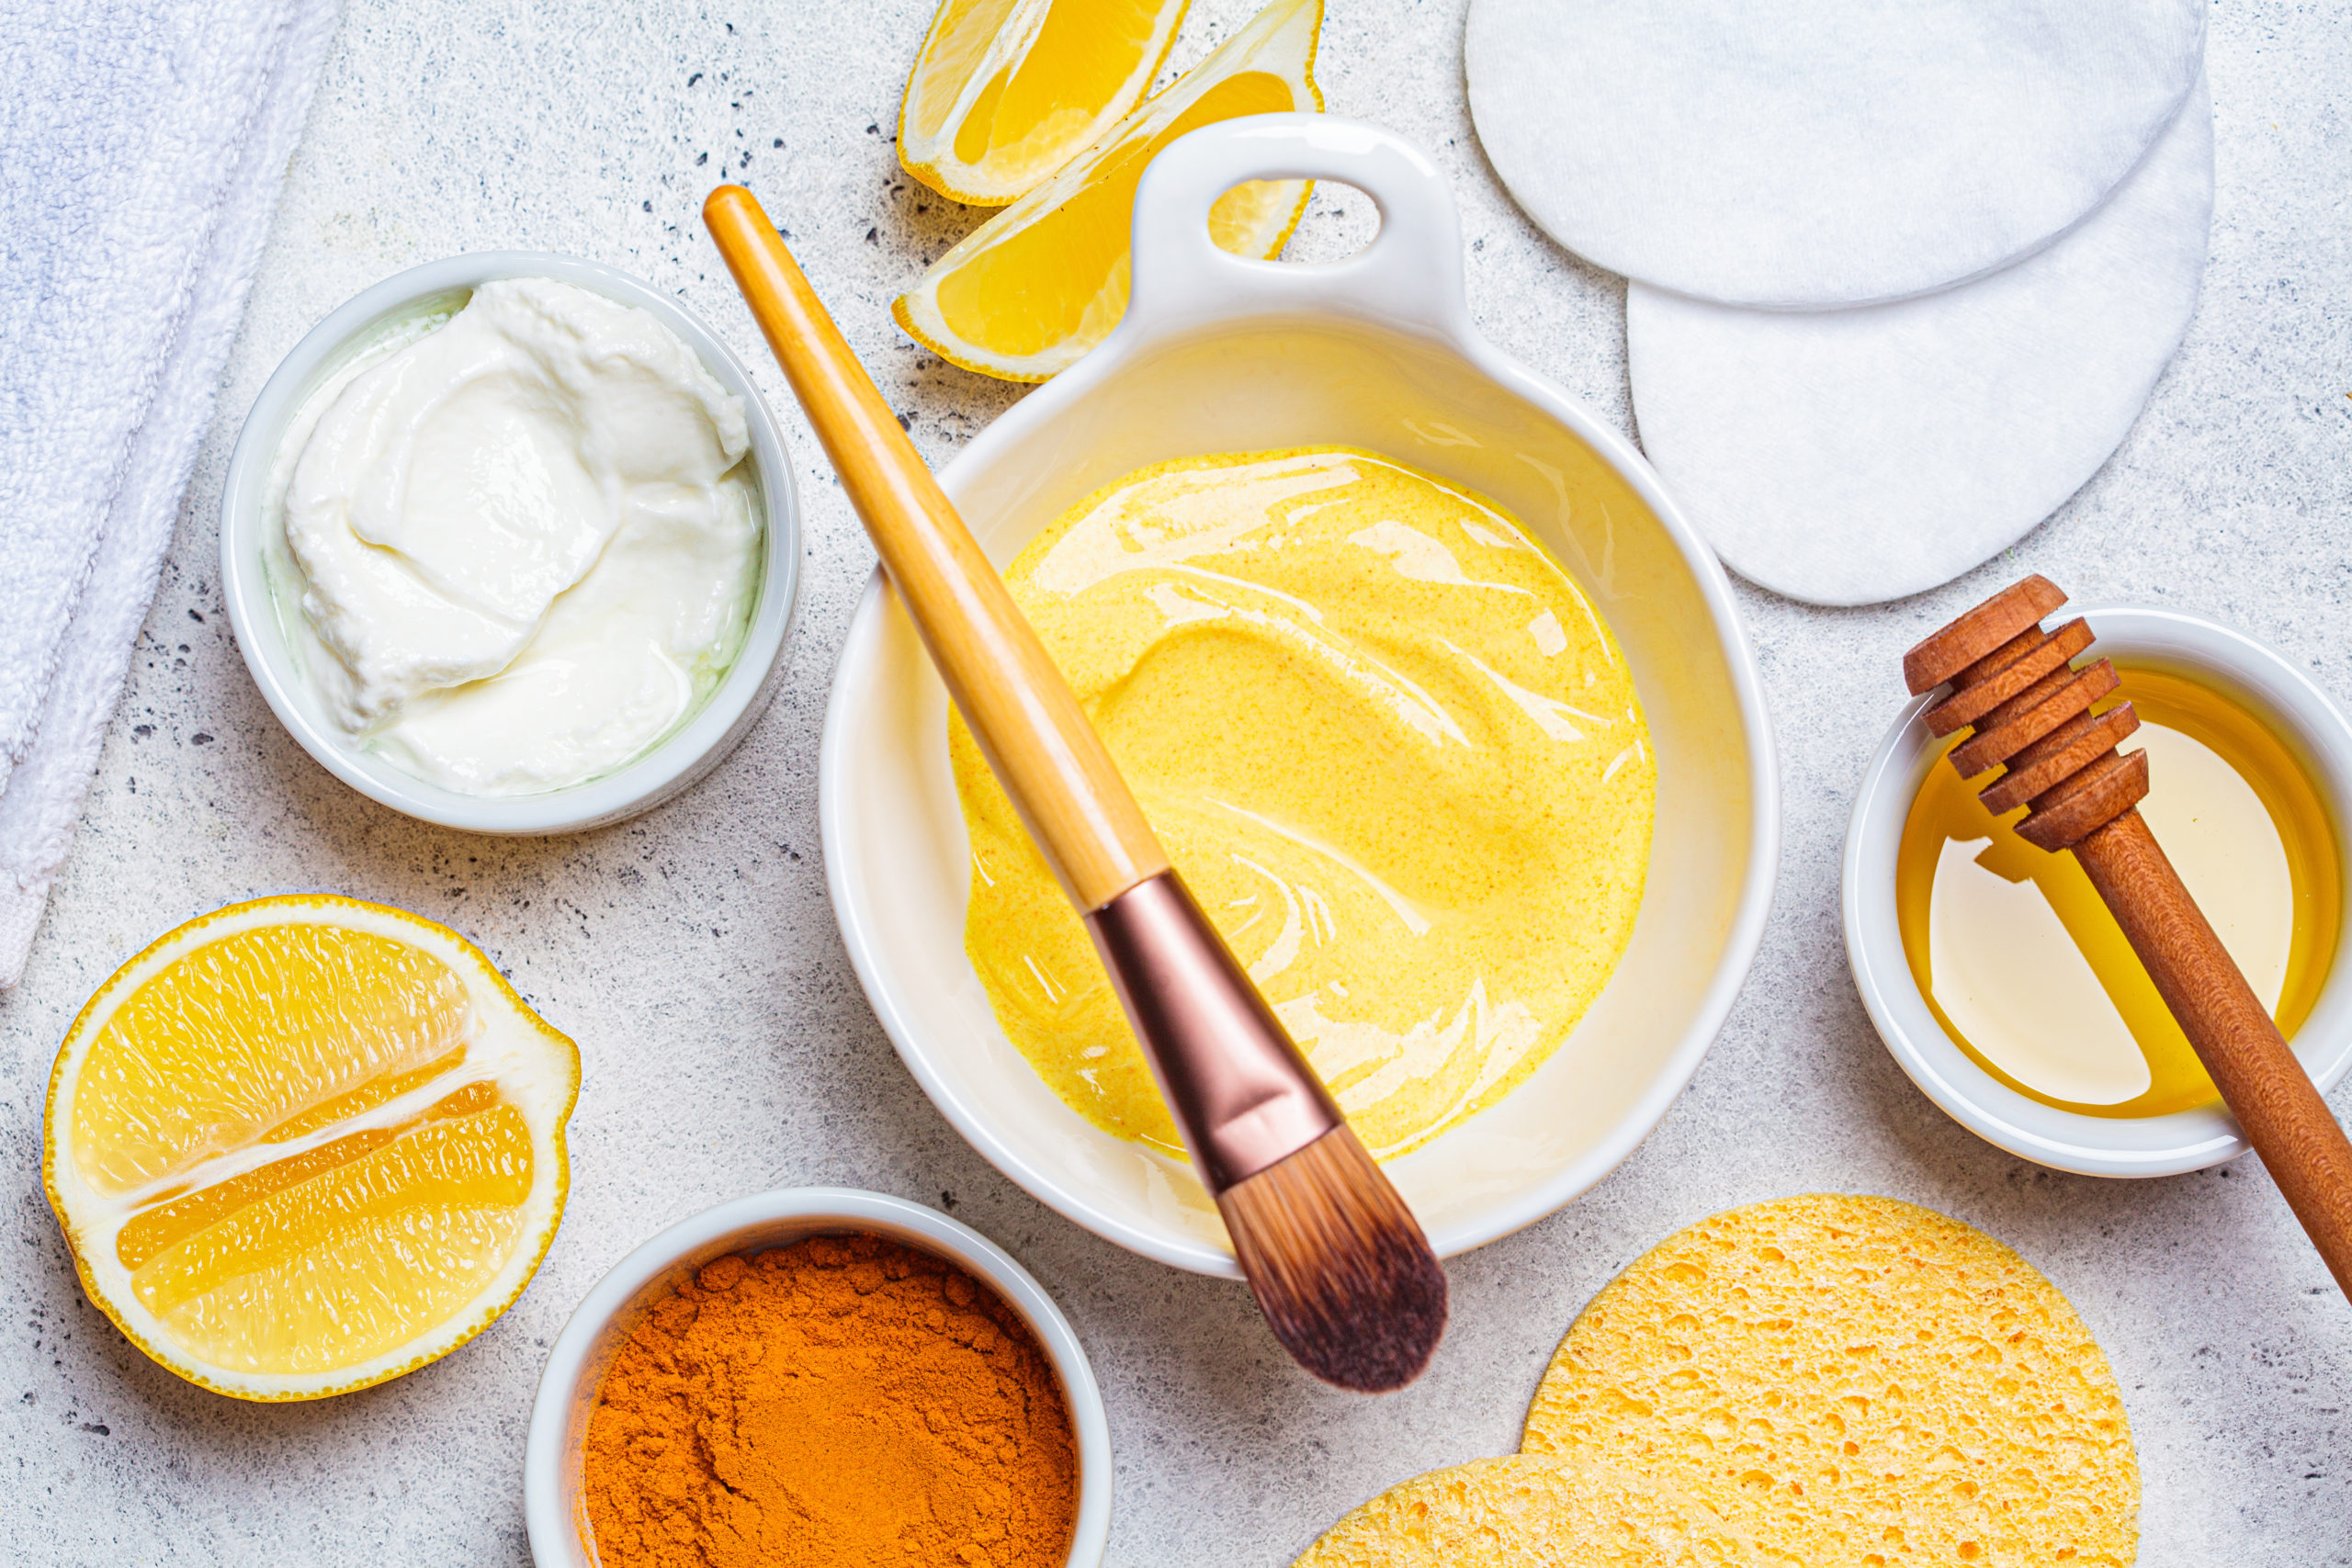
This easy DIY face mask comprises only 5 ingredients: Turmeric, Yogurt, and honey make up the base of this face mask. 

turmeric, honey and yogurt homemade face mask ingredients


Combined with lemon and tea tree essential oil, this homemade face mask will leave you with soft and glowing skin!

Turmeric

This flowering plant is native to the Indian subcontinent. Predominantly used in cooking, this root also packs a punch when used in skincare products. It is anti-inflammatory, calms redness and blemishes. It’s no wonder that Indian brides and grooms use it before their weddings. Turmeric has been used for centuries in Ayurveda and Traditional Chinese Medicine

This is my husband and me before our wedding during the Pithi ceremony, a traditional Gujarati pre-wedding event. Our families brushed the mask on our skin for good luck and healthy, glowing skin!

Interracial couple during pithi/haldi ceremony

Yogurt:

Yogurt is a great gentle cleanser for the skin. The lactic acid found in yogurt also is a natural exfoliator. Yogurt also provides excellent moisturization and hydration, keeping your skin supple. 

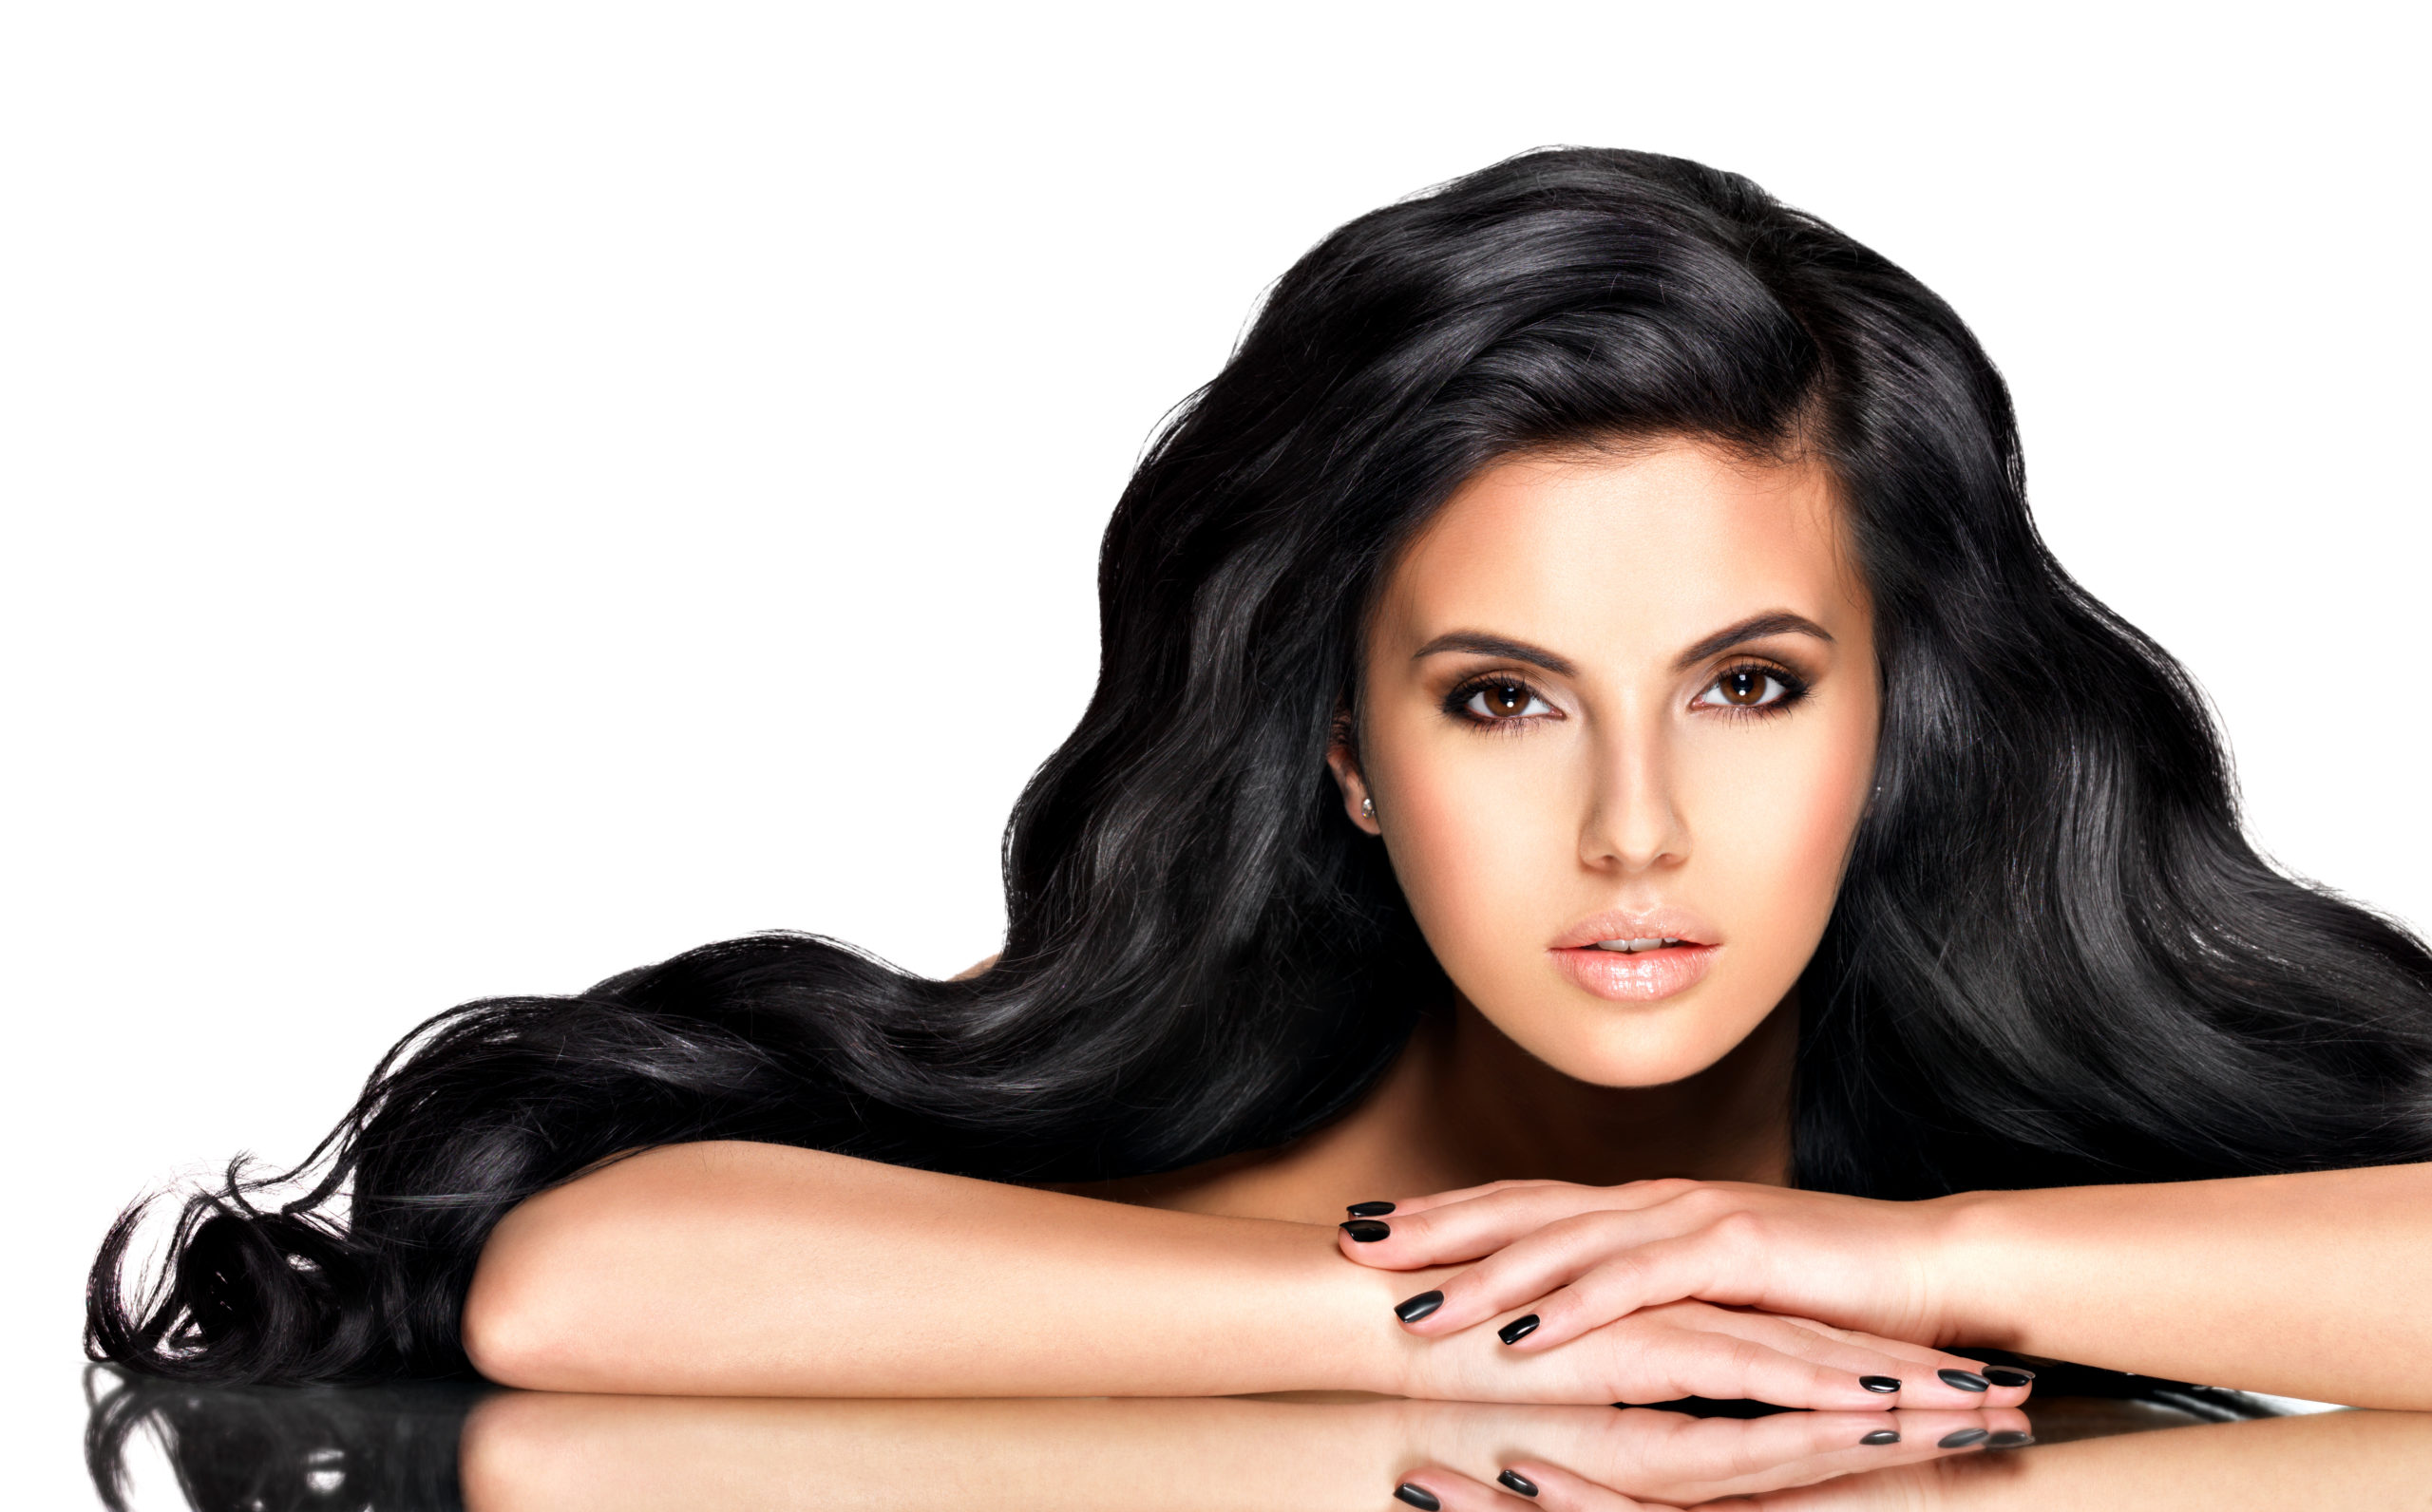
Fun Fact: My grandmother only washed her hair with yogurt because it was natural and hydrating. 

Honey:

Honey does wonders for the skin, and many commercial beauty products use this ingredient. Honey is not only antiseptic and anti-inflammatory; it also is a humectant. Meaning it locks in moisture. This powerhouse keeps skin soft and cleans bacteria to help keep acne at bay. 

Lemon Essential Oil:

Lemon is a great brightening ingredient as it naturally lightens the skin. Perfect for evening skin tone and hyperpigmentation. Lemon also helps combat acne. One thing to note is that lemon causes photosensitivity. So you’ll want to stay out of the sun when using this on your skin. Always protect your skin with sunscreen when exposed to the sun. 

When using essential oils, you’ll want to use pure unadulterated oils that are free from chemicals and additives. Fragrance and aromatherapy oils are not the same as the ones you put on your skin. I get my oils from Young Living and Plant Therapy

Tea Tree Essential Oil:

Tea tree oil is great for helping clean the skin and to fight acne. This study found tea tree oil to be as effective as benzoyl peroxide, a common acne treatment ingredient. 

How To Make Turmeric Yogurt Face Mask at Home

Turmeric yogurt and honey face mask recipe (non toxic)

Ingredients:

1 tbsp turmeric

1 tbsp yogurt (I like to use greek yogurt)

1/2 tbsp Honey

1 drop Lemon Essential Oil*

1 drop Tea Tree Essential Oil*

Mixing Bowl and brush

*Essential oils are potent. Always test before using to check for reactions. Follow proper dilution safety for your skin. 

Directions

1.) Mix turmeric and honey together in a small mixing bowl. 

2.) Add honey and mix until incorporated. 

3.) Combine lemon and tea tree essential oil. 

4.) Apply to the face with a brush or clean fingers. Avoid eye area. I use a brush to avoid contaminating the mask with bacteria from my hands. 

5.) Leave on for 10-15 minutes. 

6.) Wash off with warm water and a washcloth. 

Leftovers

I keep leftovers in the fridge for a week as it is perishable. Also, keeping the mask cool provides a nice sensation when you apply it to your face. It really feels great on hot summer days. I like to use this face mask 1-2 times a week. 

You can also use this as a gentle face cleanse. Just apply to your face in the shower and leave it on for a couple of minutes before washing off in a circular manner. 

Turmeric Face Mask Application Notes and Tips:

Turmeric stains everything yellow, and it’s incredibly potent. When using this mask, make sure to wear old clothes you don’t mind staining. When washing your face, be sure to use a darker color washcloth.  Or designate a towel for use with this mask. 

After using this mask, your skin may show a yellow tint. Don’t worry; this isn’t permanent! There are a couple of ways to combat turmeric stains on your face.  

1.) Use a washcloth to take off the mask.  This also helps with extra exfoliation.

2.) Dab a cotton ball soaked with witch hazel and swipe across your face.  

Whatever residue is leftover will go away the next day.  I like to use this mask at night for this reason. Don’t use this if you need to see people after.  Unless you like the yellow look, then go for it!


I hope you enjoy this recipe for a quick DIY turmeric yogurt face mask for glowing skin.  If you try it out,  comment below!

Want to try more DIY clean beauty at home? Check out these recipes:

Diy Lavender Vanilla Lip Balm

Homemade Olive Oil Body Cream

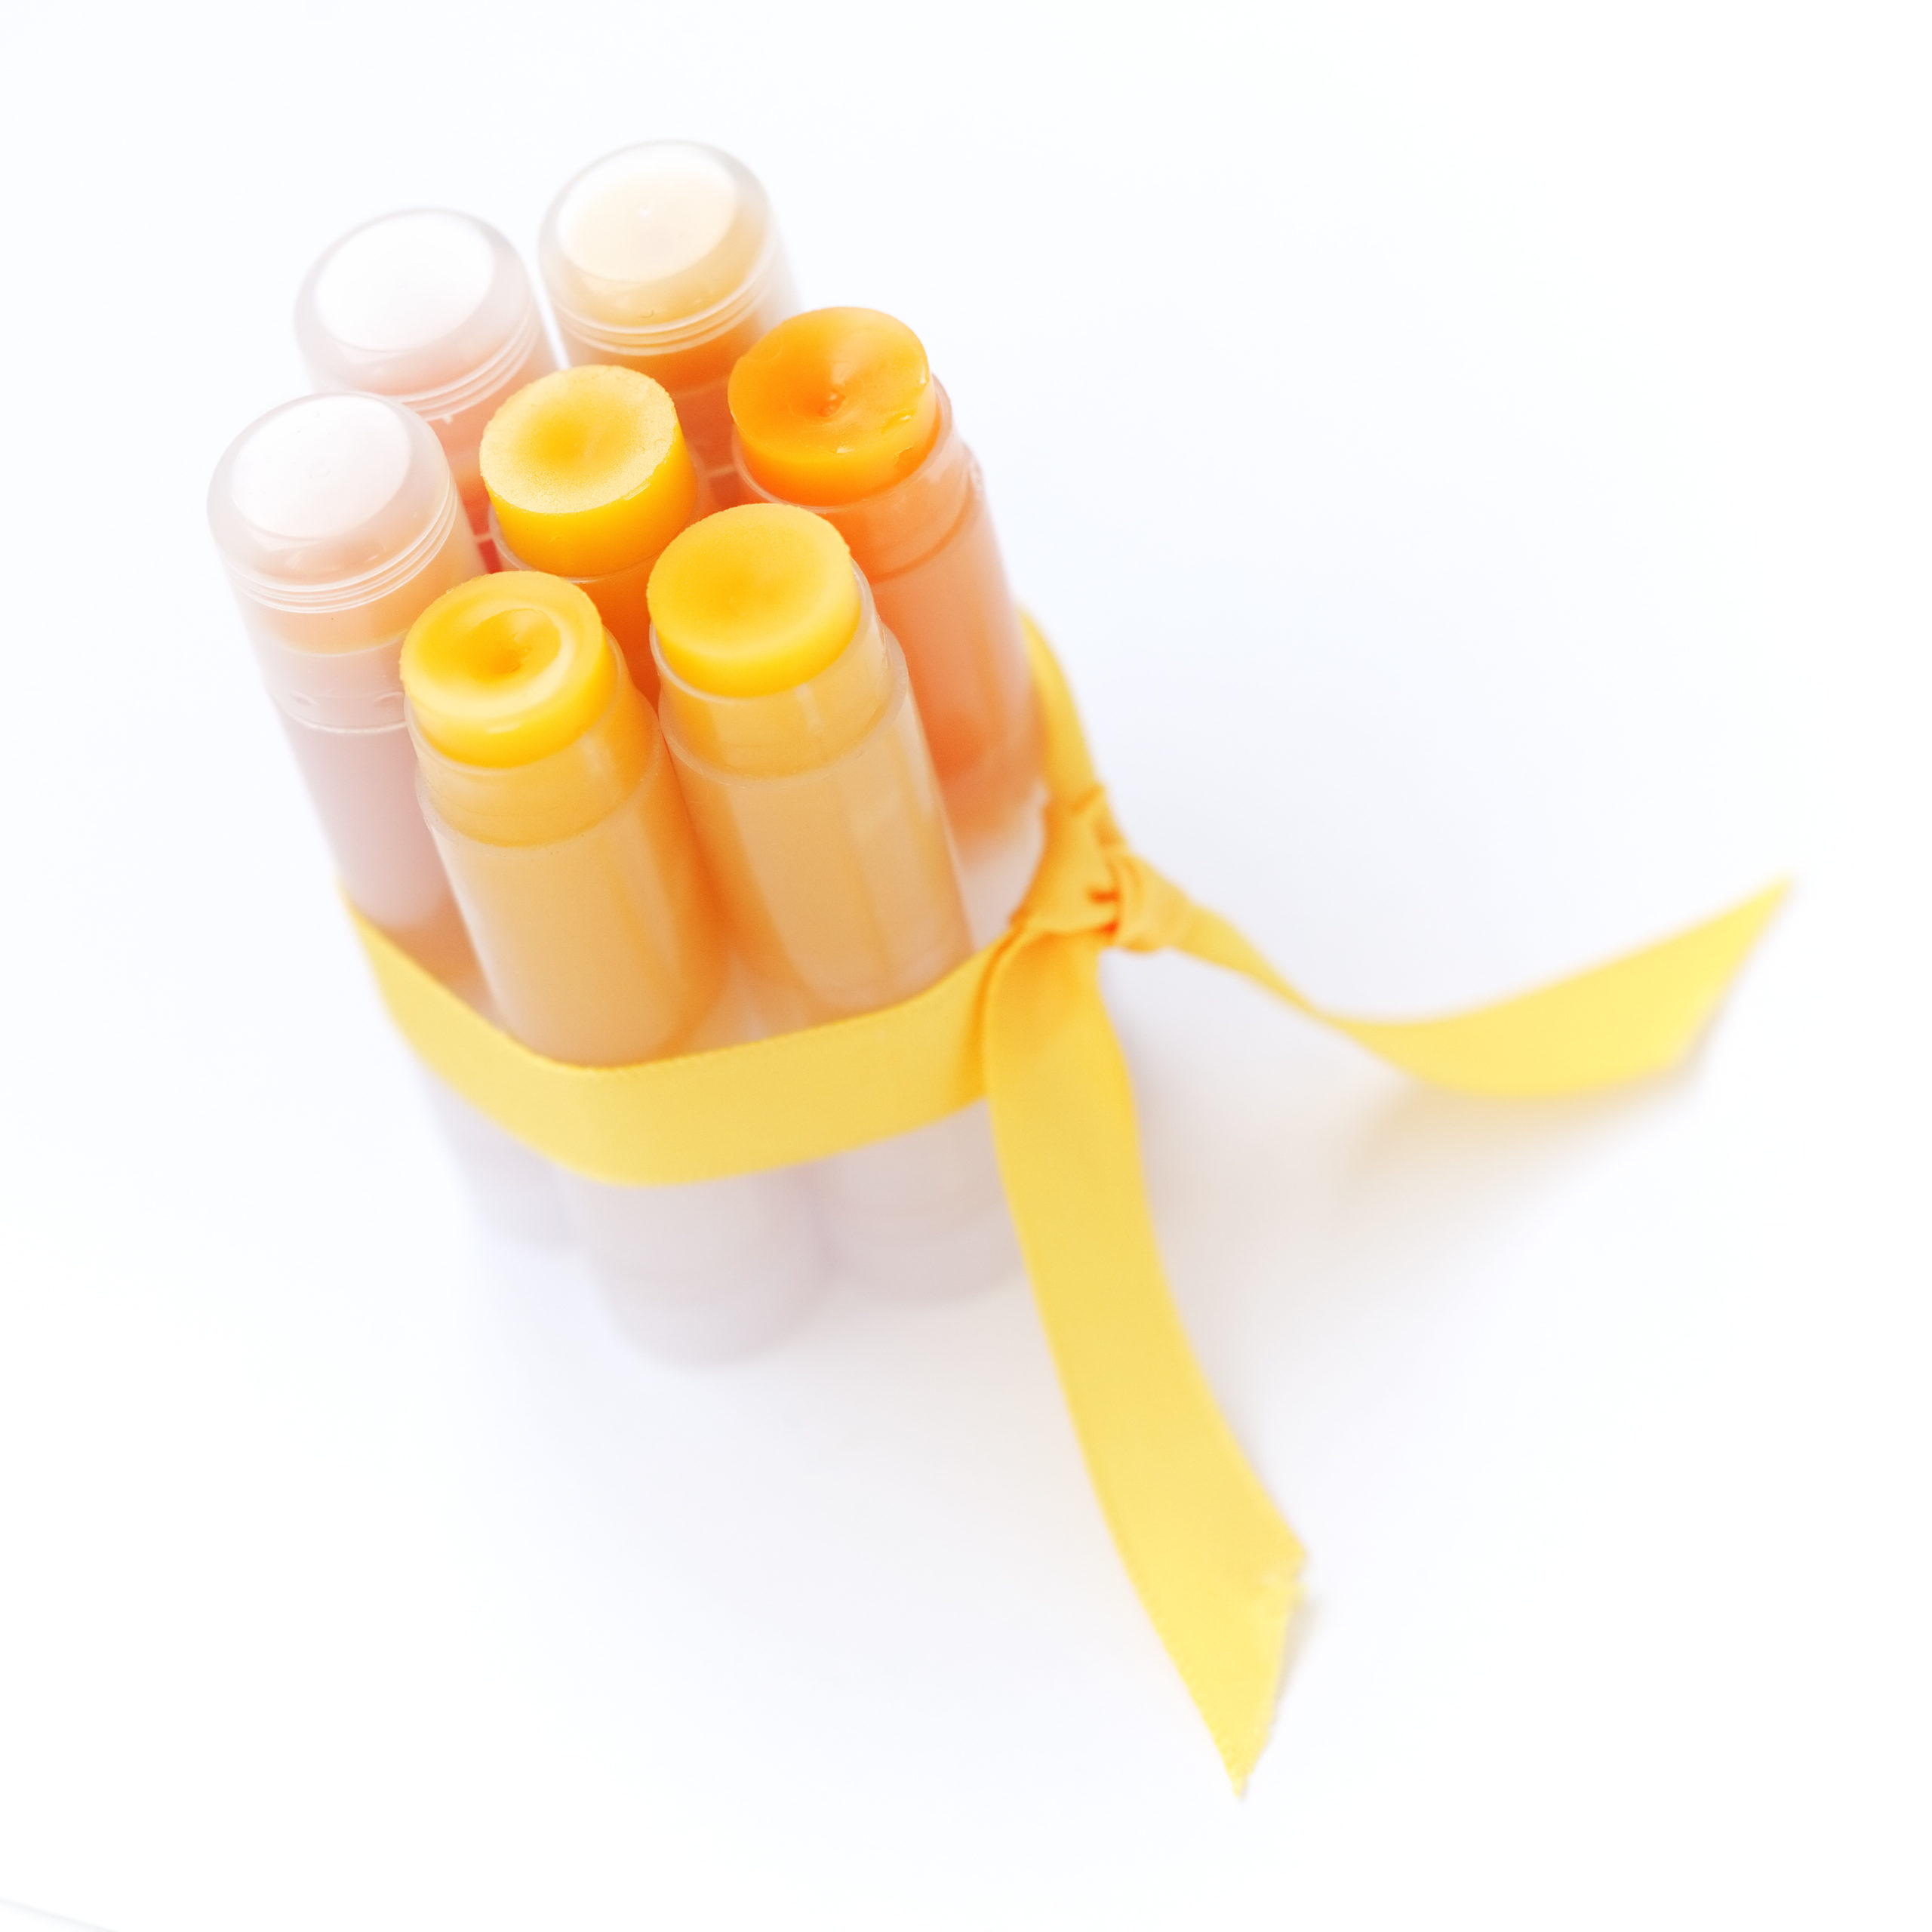
DIY Lip Scrubs with Essential Oils


Follow us on Instagram: @by.bindi


Posted on 8 Comments

Homemade Olive Oil Body Cream with Essential Oils

Whipped Homemade Olive Olive Body Cream Recipe with Shea Butter and Essential oils

Raise your hand if you are plagued with dry, ashy skin. My skin always needs some tender loving care, namely a good skincare routine. This recipe for homemade olive oil body cream is heavenly, easy to make, and smells divine with essential oils!

 I recently got into experimenting with DIY body butter as I love making clean beauty products at home. Things don’t always go well at first, though. My first batch of moisturizing body cream turned out too stiff. The cream whipped up, but it wasn’t as fluffy as  I thought it would be. 

I still used it all. After all, I’m not going to waste these ingredients, making my skin very soft!

This recipe was my next attempt, and it turned out amazing. This homemade body cream is light, and the blend of essential oils (Frankincense, Palmarosa, and Ylang Ylang) adds a nice floral touch. 

homemade olive oil body cream with ylang ylang, palmarosa and frankincense

The body cream also melts into your skin and doesn’t leave a greasy feeling as other oil-based butters tend to do. 

Let’s get started!

This post contains affiliate links. If you use these links to buy something I may earn a commission. Thanks!

Why Make a Homemade Body Cream? 

Our skin is our largest organ, and it is important to treat it right. It’s are the biggest defense against the outside elements, after all. A lot of store-bought body creams and butter have questionable ingredients and chemical preservatives. 

With a DIY body cream, you control the ingredients. You can customize it for your specific skin concerns. Plus, it’s fun to use the skincare products you made yourself!

Homemade body cream also is cost-effective. After the initial investment in the oils and butters, you’ll only use a little bit for each jar, so over time, you’ll save quite a bit of money. And who doesn’t like to save money? 

Benefits of Olive Oil Body Cream

This body cream is made with nontoxic ingredients that are highly moisturizing. Take a look at these powerhouse ingredients. 

Beeswax: 

beeswax pellets, yellow

Beeswax is a natural wax produced by honey bees. It is edible and non-toxic, thus making it a great ingredient for skincare and clean beauty products. 

This wax is great at creating a protective layer and trapping moisture as it’s a humectant. This combination makes beeswax a perfect ingredient in lip balm recipes. 

Shea butter:

shea butter

Shea butter is a fat derived from nuts. It comes from the African Shea tree. This butter is a very popular ingredient in body butters as it’s incredibly nourishing. 

It is very thick and can be greasy if used on its own. When combined with other butters and oils, it provides incredible moisturizing properties. Shea butter is also edible and non-toxic. 

And, even though this butter comes from a nut, it has a  low chance of triggering nut allergies

Coconut Oil: 

coconut oil

Coconut oil is one of the most popular ingredients in DIY beauty recipes. This oil provides so many great benefits for our skin. It protects skin from environmental damage, hydrates, and can minimize fine lines and wrinkles. 

Also, because it absorbs easily, it won’t leave a greasy feeling on your skin. Coconut oil does have a high comedogenic rating (4). I use fractionated coconut oil which has a comedogenic rating of 2. 

Sweet Almond Oil: 

Sweet almond oil is such a powerhouse. It not only is great at moisturizing, but it also can lighten dark spots. Over time, our lips can lose their vibrant pink color, and this oil helps even the tone. 

Vitamin E Oil: 

Vitamin E is a popular anti-aging gold mine. It’s no wonder it’s used in many skincare products. This oil is thicker than others, and you only need a little bit to get the job done. Vitamin E oil is perfect for dry and chapped lips as it encourages cell turnover and leads to the skin regenerating faster. 

Frankincense: 

Frankincense Serrata essential oil bottle, Plant Therapy

Known as the king of oils for its vast benefits, Frankincense essential oil has been used for centuries. It’s even biblical! Frankincense is an aromatic resin that comes from the tree Boswellia. This liquid gold can improve skin tone and elasticity which is great if you’re looking for antiaging elements. 

Palmarosa: 

Young Living Palmarosa Essential Oil bottle, DIY Body Cream Recipe

Palmarosa essential oil comes from a grass native to India and Indochina. This light, floral oil can stimulate and rejuvenate the skin to look healthy and toned. It is also very moisturizing. 

Ylang Ylang: 

Young Living Ylang Ylang Essential Oil bottle, homemade body butter recipe

Ylang Ylang comes from the Cananga tree, which is native throughout South Asia, such as India, Malaysia, and the Philippines. This lovely oil has a scent that can lift your mood and calm anxiety—the perfect combo for a morning or night cream. 

How to Make Homemade Olive Oil Body Cream

Whipped Homemade Olive Olive Body Cream Recipe with Shea Butter and Essential oils

Ingredients

1/4 c Olive Oil

4 tbsp Shea Butter

1 tbsp Coconut Oil

1 tsp Sweet Almond Oil

1 tsp Vitamin E oil

2 tbsp + 1 tsp Beeswax Pellets

15-20 drops essential oil (I used Frankincense, Palmarosa, Ylang Ylang)

Mason Jar or Small Container

Double Boiler

Stand Mixer


Notes: 

  • This recipe fills a small 2 oz container.

Directions: 

  1. In a double boiler, melt shea butter, beeswax pellets, and oils (except essential oils if using) over low heat. 
  2. Remove from heat and add essential oils. 
  3. Chill in the fridge from 45 minutes to 1 hour. 
  4. Transfer mixture to a mixer. On the high setting, whip until smooth. 
  5. Transfer to a mason jar or small container. 

How to Use Your Whipped Body Butter

This nourishing homemade olive oil body cream is perfect to use right after a shower. Tap away excess water with a towel and apply your body cream. A little goes a long way, so you won’t have to lather it on. Also, since this is an oil-based cream, let it absorb before putting it on. I usually put a robe on while I”m getting ready, and I’m ready to put on clothes within 5-10 minutes. The cream does absorb and won’t leave a greasy feeling. However, keep in mind it is an oil-based cream. 

This homemade cream is also perfect to put on at night before bed. I like to put it on twice a day for extra moisturizing properties. I always wake up with super soft skin! And, with regular use, your skin won’t be dry and ashy anymore. 

Storing Your Homemade Body Cream

Since this cream is free of preservatives, use it regularly. For me, a 2 oz container lasts about 3-4 weeks. I love this aspect as I can whip up a batch every month and change essential oils as I like. I love to experiment with scents depending on the seasons. 

The vitamin E oil in this cream will help prevent mold. Try to avoid contamination by keeping cream away from water. You can store the cream in the bathroom. I keep mine right on the countertop, so it’s ready for use every day!

I hope you enjoy this recipe for homemade olive oil body cream! If you make it, please comment below and share any photos on social media – @by.bindi (Instagram). 

Want more DIY recipes? Try this Lavender Vanilla Lip Balm Recipe that is completely non-toxic and nourishing. 

Posted on 6 Comments

DIY Lavender Vanilla Lip Balm Sticks (Non-Toxic Recipe)

homemade lavender vanilla lip balm recipe with essential oils

Do you have chapped lips and are you constantly applying chapstick? It always seems like the more you apply the drier they become right? This DIY Lavender Vanilla Lip Balm recipe is super nourishing and will keep your lips soft for a long time. 

I notoriously have cracked and dry lips. I don’t always treat my lips well as I’m horrible at picking at them all the time (I know, it’s a terrible habit)!  That combined with weather tends to leave my puckers in bad shape. 

I’ve used every chapstick and lip balm under the sun. Some work but many times they leave me wanting more.  

Ever since I switched to non-toxic living and ditched my chemical-laden beauty products,  I’ve been really into making my own products at home. I never made lip balm before so I decided to solve my chapped lip problem and have some fun in the process!

This homemade lip balm recipe with essential oils is super cost-effective,  all-natural, and nourishes your lips so well. I don’t have to reapply every hour! The lavender and vanilla combo is a heavenly bonus!

DIY Lavender Vanilla Lip Balm Sticks

Why Make Your Own Lip Balm at Home?

diy lavender vanilla lip balm recipe (non toxic)

With homemade lip balm, you know exactly what you’re putting in it.  You control the ingredients and therefore can know with certainty you are using the best ingredients for your body.  Your body is worth taking care of in a chemical-free way.  Especially with our lips. You don’t want to ingest something that can build up in your body and cause problems down the road. 

Making lip balm at home is also a fun project! I made mine with my husband during our weekly self-care Sunday evenings.  We had a blast making them! You can make these lip balms with kids (with supervision) or with friends. I highly suggest making these with people as it’s a great activity and everyone will enjoy it. 

Homemade lip balm tubes also make lovely gifts! Slap on a cute label and they’re ready to be gifted. 

Will This Recipe Help Chapped Lips?

chapped lips

Yes! This recipe uses a combination of high-quality natural oils and butters that come together to moisturize your lips deeply. Ever since I made this recipe, I’ve been obsessed and my lips are so silky soft! The first night I made them, my lips were moisturized when I woke up the next morning and I didn’t need to reapply until hours later! This also adds to the cost-effective side as you won’t go through it often. 

Although, I like applying it so I still do even though I don’t need to! 

The powerful natural ingredients nourish and hydrate your lips so you’ll have soft, smooth, and kissable lips all the time. Most recipes call for one or two butters and oils. I used a mix of two kinds of butter and four oils to maximize the benefits for our skin. 

Beeswax: 

beeswax pellets, yellow

Beeswax is a natural wax produced by honey bees. It is edible and non-toxic, thus making it a great ingredient for skincare and clean beauty products. 

This wax is great at creating a protective layer and trapping moisture as it’s a humectant. This combination makes beeswax a perfect ingredient in lip balm recipes. 

Shea butter:

shea butter

Shea butter is a fat derived from nuts. It comes from the African Shea tree. This butter is a very popular ingredient in body butters as it’s incredibly nourishing. 

It is very thick and can be greasy if used on its own. When combined with other butters and oils, it provides incredible moisturizing properties. Shea butter is also edible and non-toxic. 

And, even though this butter comes from a nut, it has a low chance of triggering nut allergies

Cocoa Butter:

cocoa butter

Cocoa butter is the fat that comes from the cocoa bean. This butter has a rich chocolatey smell (yum!). Cocoa butter isn’t just something that is used in chocolates. It also is great at creating a barrier on the skin to keep it from drying out. 

This butter can also help protect our skin from sun damage. Cocoa butter is also filled with antioxidants which is great for anti-aging products. 

Coconut Oil: 

coconut oil

Coconut oil is one of the most popular ingredients in DIY beauty recipes. This oil provides so many great benefits for our skin. It protects skin from environmental damage, hydrates, and can minimize fine lines and wrinkles. 

Also, because it absorbs easily, it won’t leave a greasy feeling on your skin. Coconut oil does have a high comedogenic rating (4). I use fractionated coconut oil which has a comedogenic rating of 2. 

Sweet Almond Oil: 

Sweet almond oil is such a powerhouse. It not only is great at moisturizing, but it also can lighten dark spots. Over time, our lips can lose their vibrant pink color and this oil helps even the tone. 

Jojoba Oil: 

Jojoba oil comes from the jojoba plant. This oil is also phenomenal at locking in moisture and has anti-aging properties. It absorbs quickly and does not leave behind a greasy residue. 

Vitamin E Oil: 

Vitamin E is a popular anti-aging gold mine. It’s no wonder it’s used in many skincare products. This oil is thicker than others and you only need a little bit to get the job done. Vitamin E oil is perfect for dry and chapped lips as it encourages cell turnover and leads to the skin regenerating faster. 

Lavender essential oil: 

Lavender essential oil is great for healing cracked lips as it’s anti-inflammatory and soothing. It’s a great oil to use during the winter months when the weather destroys our kissable lips. Lavender also is great at locking moisture in and hydrating lips. 

Vanilla Extract:

Organic vanilla extract has many anti-aging benefits. Vanilla extract is more than just a nice scent. It also has anti-bacterial properties which can help heal your lips if they are severely damaged. 

Plus it smells heavenly!

This post contains affiliate links. If you use these links to buy something I may earn a commission. Thanks!

Homemade Lavender Vanilla Lip Balm Recipe 

Ingredients: 

2 tbsp beeswax

1 tbsp African shea butter

1 tbsp Cocoa Butter

1.5 tsp Fractionated Coconut Oil

1.5 tsp Sweet Almond Oil

1.5 tsp Jojoba Oil

.5 tsp Vitamin E Oil

20-30 drops Lavender essential oil

1 tsp VanillaExtract*

Lip Balm Tubes

Double Boiler

*You can substitute vanilla essential oil instead of extract if you want a stronger vanilla scent. If you’re adding the oil, use 10 drops. If you use vanilla extract, your end product may look a little speckled, but it’s not super noticeable. 

Notes: 

  • When purchasing essential oils, make sure they are pure 100% organic oils that are not cut with any fillers. Personally, I like Plant Therapy and Young Living for essential oils for their high-quality oils. 
  • This lip balm recipe makes about 9 tubes. If you want less, you can half the recipe. 

Directions:

  1. Measure out ingredients.
  2. In a double boiler, add beeswax, shea butter, and cocoa butter.  On low heat, let it melt until it is liquified. 
  3. Remove from heat and add all 4 oils plus lavender and vanilla extract.  If the mixture starts to harden, return to the double boiler to liquefy. The vanilla extract will not mix with the oils, but you can stir to distribute it evenly. 
  4. Fill lip balm tubes with the mixture. Using a funnel helps avoid spillage. 
  5. Let tubes cool before using. 

Makes 9 lip balm sticks.  You can fill with tins instead if you like. 

diy lavender vanilla lip balm, homemade chap stick recipe

This DIY Lavender Vanilla Lip Balm Sticks Recipe is perfect to follow after a natural exfoliating sugar scrub. Try these 5 DIY lip scrub recipes.

Did you make this lip balm recipe? Comment below or tag me on Instagram (@by.bindi). I’d love to see your photos!


Posted on 1 Comment

Want Long, Thick and Luxurious Hair? Try these Natural Indian Hair Masks! (Free DIY Recipes)

long thick and luxurious hair, indian woman

Who doesn’t want long, thick and luxurious hair? Indian hair is highly sought after in the wig industry for its shine and length.  

how to get healthy long hair naturally

Ever wonder how Indian hair gets to be so healthy and beautiful? My whole life my friends, co-workers, and random people on the streets complimented my hair.  

I routinely grow my hair for 3 years and then chop it off to donate.  It grows so fast,  one time I chopped it off and a month later a friend remarked, ‘it doesn’t even look like you cut it, it’s long again.

The thing is, I wasn’t doing anything crazy with my hair. I just followed what my mom and grandmother did. And, it works because it’s natural.  There aren’t weird ingredients and things you can’t pronounce.

Just good old ingredients right from nature. 

Read on for all the natural hair secrets for long, thick, and luxurious hair. You’ll have healthy hair in no time.  

This post contains affiliate links. If you use these links to buy something I may earn a commission. Thanks!

Why use Indian tips to Get Long, Thick, and Luxurious Hair?

Did you know that India is the largest supplier of human hair for wigs and extensions? Women go to temples in India to shave off their long tresses. The hair is then sorted, cleaned, and auctioned off. One temple in India makes anywhere from 25-40 million dollars a year selling the hair. 

Indian’s are genetically blessed with thick hair, but they also use a lot of natural hair care products that have increased the value of their hair. 

The Secret To Healthy and Long Hair

The one thing Indians do routinely for healthy hair is oiling it. We deep condition our hair with nutrient-dense oils once a week.  

hair oils for long thick luxuriousd hair

When I was younger,  every Friday night was oil night. My mom brushed my hair until it was smooth and tangle-free. This took some time as a kid,  I always had tons of knots!

Then she’d use this green oil that had a distinctly Indian scent. She’d massage into my scalp and work it all the way into the ends. After 10 minutes, I’d feel so relaxed. For best results, we always slept with our hair oil mask overnight and washed it out the next morning.  

Put it in a braid and sleep with a towel over your pillowcase to avoid staining.

Why Hair Oil Masks Work Wonders

Oiling your hair injects moisture into your hair.  There are many health benefits to an oil hair massage. 

  1. You stimulate your scalp which allows hair follicles to strengthen and be more active. 
  2. Nutrients penetrate better with massaging 
  3. It helps with hair loss
  4. Shinier and stronger hair

What are the best oils for healthy hair?

My mom always used Indian oils on my hair as a kid.  It’s green and very potent. Usually, it is made with Indian Amla (gooseberry). Amla oil helps stimulate your scalp, controls premature greying, and helps with hair growth as it strengthens hair follicles. 

Indian Gooseberry for healthy hair

As I got older,  I experimented with all kinds of oils.  I now use a combination of oils to maximize the benefits.  Here are commonly used oils:

Castor Oil:

Castor oil comes from a plant that is native to Asia and Africa. It is a vegetable oil pressed from castor beans. Castor oil is known for its thick consitency and it is better to mix this oil with others due to its stickiness. This oil is rich in healthy fats such as the fatty acid ricinoleic acid. 

This vegetable oil helps lubricate the hair shaft and protects it from damage. Fatty acids provide proteins and nutrients to hair follicles. It also can help those with dandruff issues. 

Olive Oil:

This popular oil comes from Meditteranean olives. While we traditionally use this in our foods and with yummy breads, olive oil has tremendous hair care benefits as well. 

This oil has a moisturizing effect on the hair and it gives it softness and strength. Olive oil is great for getting that shine that makes hair sparkle. If you have a dry scalp, this is the perfect oil for a head massage due to its moisturzing properties. 

Jojoba Oil: 

Produced from jojoba seeds, this oil is native to southwestern USA. Jojoba oil is rich in many vitamins that are vital for hair growth. This oil is great for preventing hair loss and promoting hair growth. 

Jojoba oil also is moisturizing like olive oil and great for dry scalps and combating dandruff. 

Coconut Oil: 

Coconut oil is my favorite oil to use in my hair serum bases. It was also my grandmother’s go to as well. This oil smells great and has so many great benefits for our hair. This popular oil moisutrizes hair, protects it from enviornmental damage, and helps prevent protein loss and damage when wet. 

This vegetable oil is a powerhouse for hair care. Use fractionated coconut oil for best results. This oil stays liquid at all temps and won’t solidify. 

Honorable Mentions: 

While I personally don’t use these oils in my hair serums, they are also great for hair growth and care so they deserve a mention!

Avocado Oil

Sweet Almond Oil

Essential Oils for Hair:

While adding essential oils to hair oils isn’t a traditional Indian thing to do,  I’m adding it to the list because essential oils are powerful, potent and non-toxic. They make great additions to hair serums and smell great too!

Lavender 

Peppermint 

Rosemary 

Cedarwood

Thyme

Tea Tree

DIY All Natural Hair Serum Recipes:

Use these hair masks once a week for the best results. You can change it up to maximize the benefits to get long, thick, and luxurious hair in no time. 

Deep Conditioning Hair Mask:

1 tbsp fractionated coconut oil

1 tbsp olive oil

1 tsp castor oil

1 tsp jojoba oil

Essential oils (optional)

This mask is great to use when your hair really needs some TLC. Watch your hair turn silky soft overnight. 

Thick Hair Mask:

1 tbsp fractionated coconut oil

1 tbsp jojoba oil

Essential oils (optional)

This hair mask recipe will thicken hair when consistently used. 

Shiny Hair Mask:

2 tbsp olive oil

1/2 tbsp fractionated coconut oil

Essential oils (optional)

Your hair will bring all the shine with this olive oil-based hair mask.

Long Hair Mask

1 tsp castor oil

1 tbsp coconut oil

1 tbsp olive oil

Essential oils (optional)

Feel free to experiment with the oils and use them more or less depending on your hair length. If your hair is on the drier end, use more. Be sure to wash well the next day. I usually wash my hair twice to get all the oils out. My hair is always left silky soft and never greasy. 

Other Indian Tips for Healthy Hair:

Along with maintaining good hair hygiene and routine oiling, here are some other things to try for long, thick, and luxurious hair. 

  1. Wash it 1-2 times a week instead of daily. Overwashing removed oils and dries out your hair. 
  2. Use natural cleansing methods such as yogurts and chemical-free shampoos.
  3. Braid hair loosely and avoid tying it up too tightly. Tying it tightly leads to breakage and pulls on your skin which will lead to premature wrinkles.

Did you try these DIY natural hair masks for long, thick, and luxurious hair? Comment below!

Interested in other DIY non-toxic recipes? Try our 5 DIY Natural Lip Scrubs with Essential Oils.