Do you have chapped lips and are you constantly applying chapstick? It always seems like the more you apply the drier they become right? This DIY Lavender Vanilla Lip Balm recipe is super nourishing and will keep your lips soft for a long time.
I notoriously have cracked and dry lips. I don’t always treat my lips well as I’m horrible at picking at them all the time (I know, it’s a terrible habit)! That combined with weather tends to leave my puckers in bad shape.
I’ve used every chapstick and lip balm under the sun. Some work but many times they leave me wanting more.
Ever since I switched to non-toxic living and ditched my chemical-laden beauty products, I’ve been really into making my own products at home. I never made lip balm before so I decided to solve my chapped lip problem and have some fun in the process!
This homemade lip balm recipe with essential oils is super cost-effective, all-natural, and nourishes your lips so well. I don’t have to reapply every hour! The lavender and vanilla combo is a heavenly bonus!
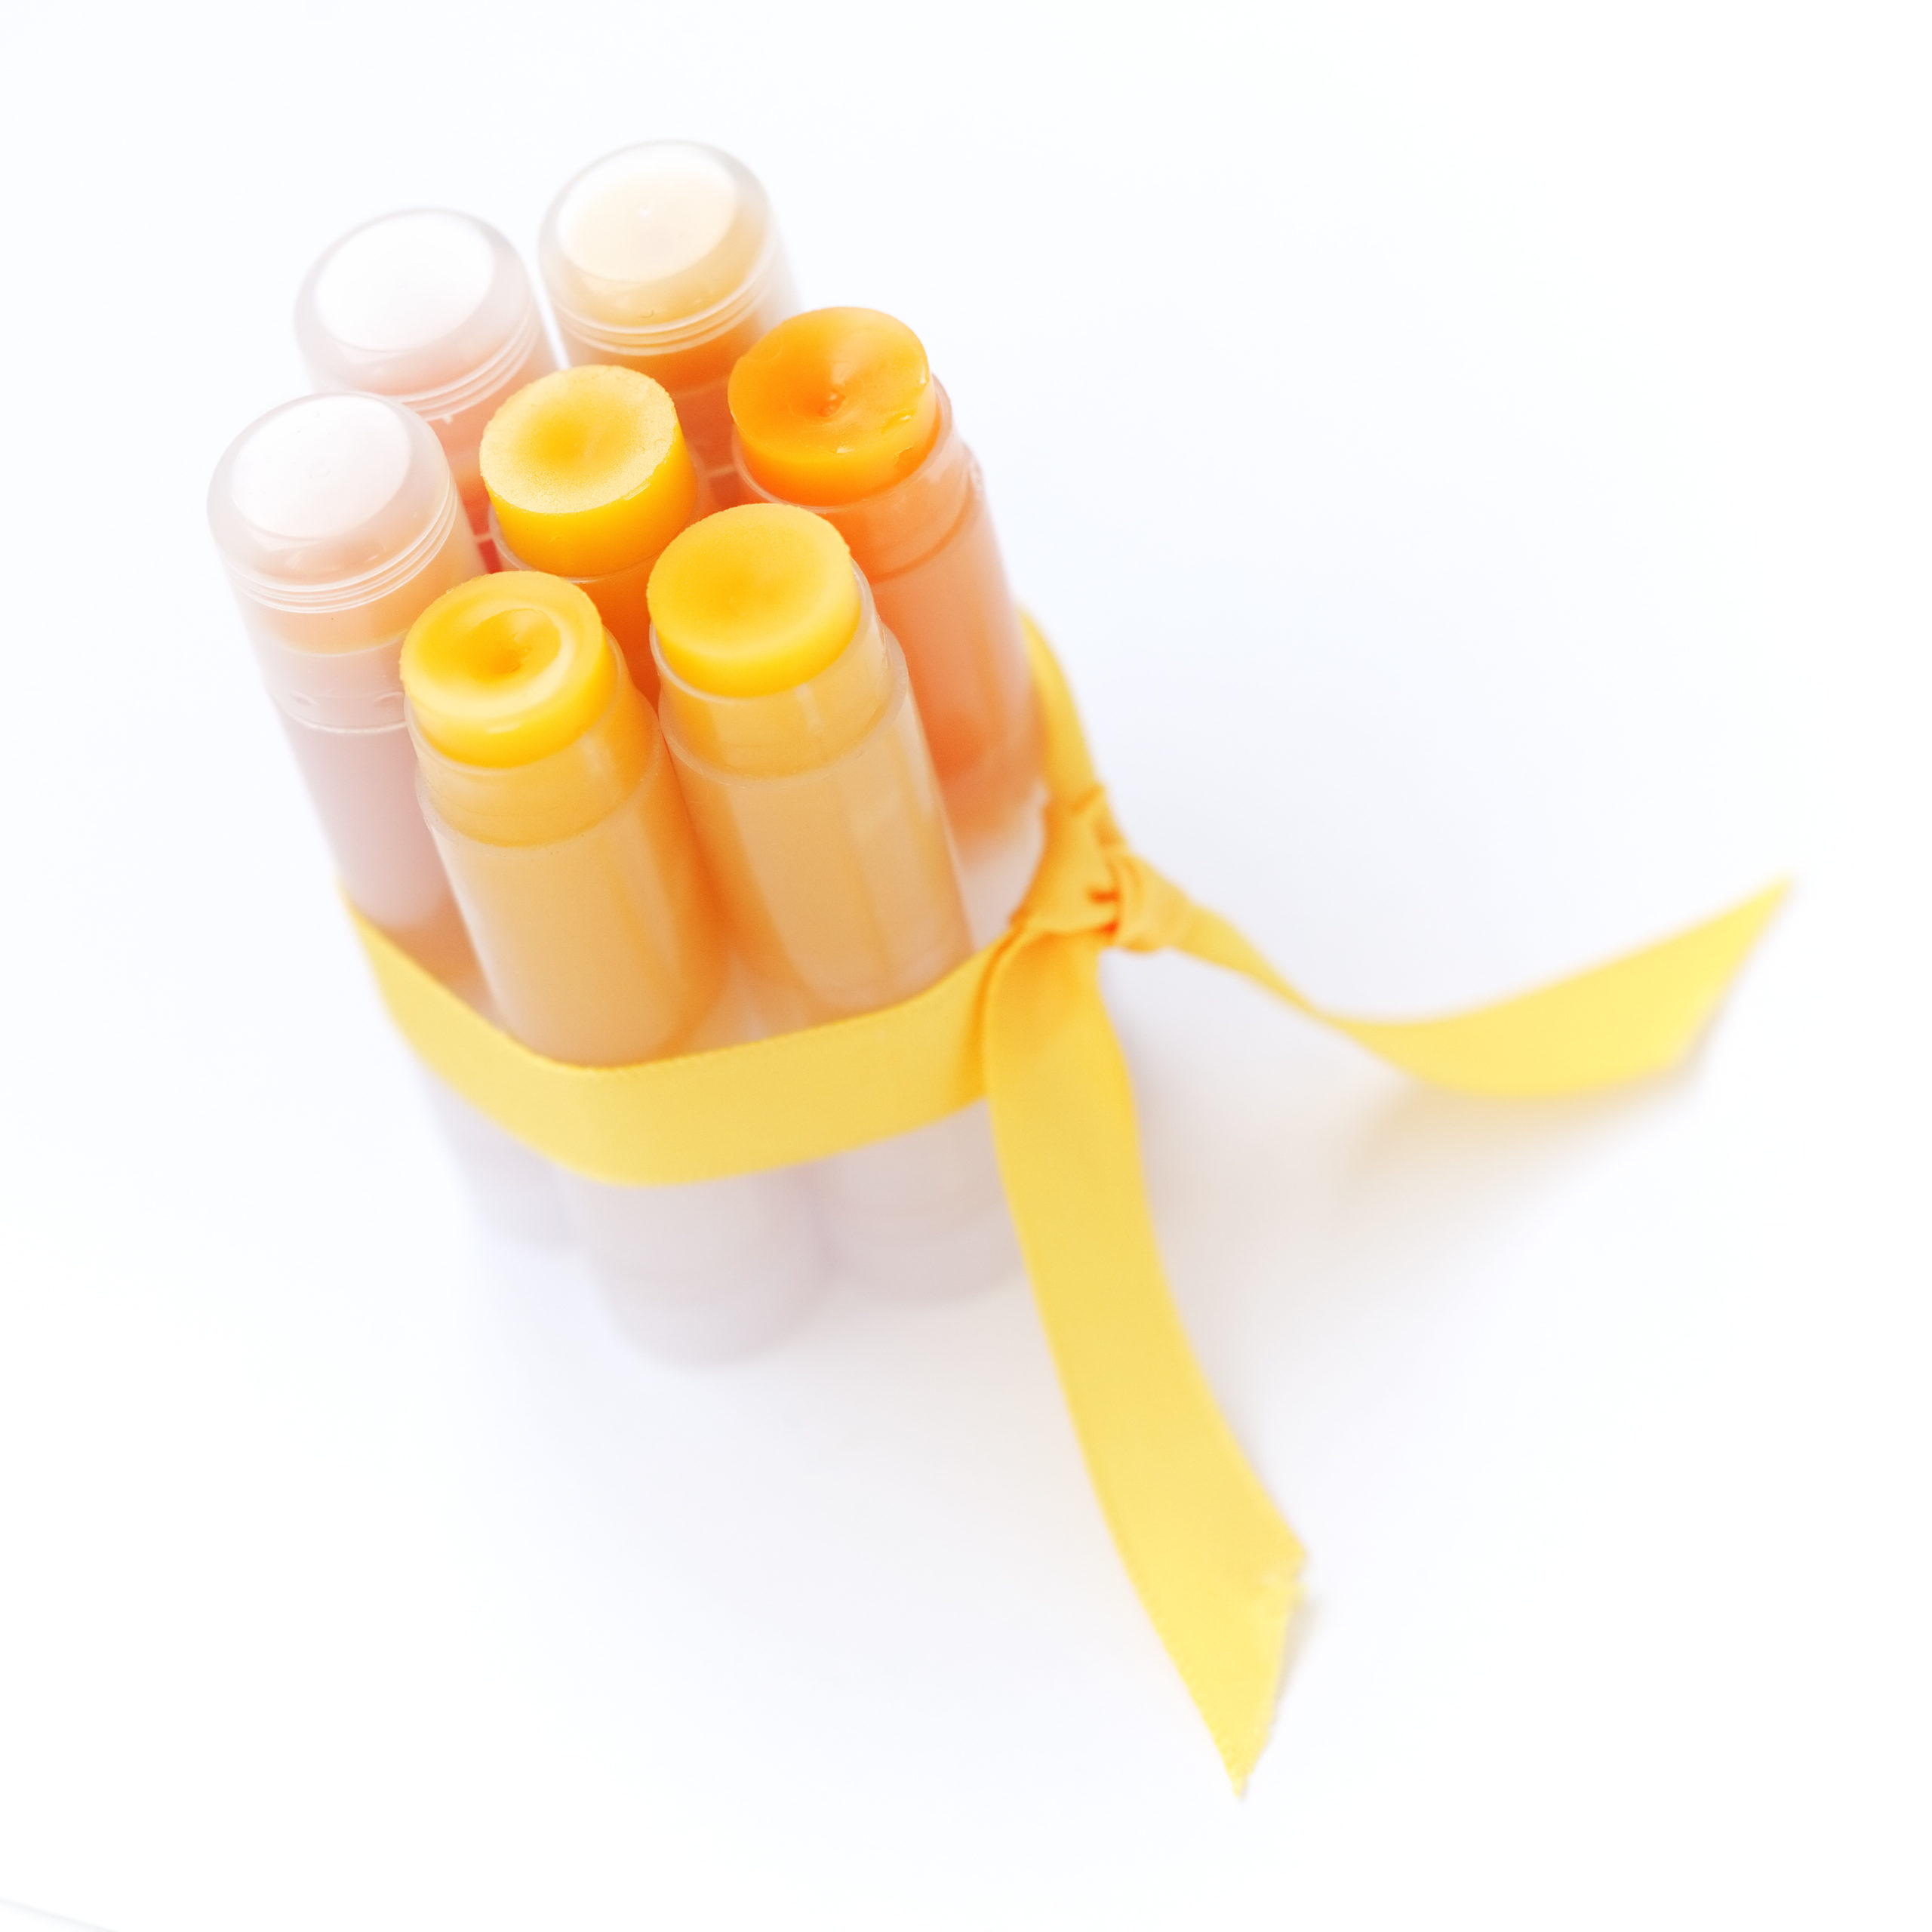
DIY Lavender Vanilla Lip Balm Sticks
Why Make Your Own Lip Balm at Home?

With homemade lip balm, you know exactly what you’re putting in it. You control the ingredients and therefore can know with certainty you are using the best ingredients for your body. Your body is worth taking care of in a chemical-free way. Especially with our lips. You don’t want to ingest something that can build up in your body and cause problems down the road.
Making lip balm at home is also a fun project! I made mine with my husband during our weekly self-care Sunday evenings. We had a blast making them! You can make these lip balms with kids (with supervision) or with friends. I highly suggest making these with people as it’s a great activity and everyone will enjoy it.
Homemade lip balm tubes also make lovely gifts! Slap on a cute label and they’re ready to be gifted.
Will This Recipe Help Chapped Lips?

Yes! This recipe uses a combination of high-quality natural oils and butters that come together to moisturize your lips deeply. Ever since I made this recipe, I’ve been obsessed and my lips are so silky soft! The first night I made them, my lips were moisturized when I woke up the next morning and I didn’t need to reapply until hours later! This also adds to the cost-effective side as you won’t go through it often.
Although, I like applying it so I still do even though I don’t need to!
The powerful natural ingredients nourish and hydrate your lips so you’ll have soft, smooth, and kissable lips all the time. Most recipes call for one or two butters and oils. I used a mix of two kinds of butter and four oils to maximize the benefits for our skin.
Beeswax:

Beeswax is a natural wax produced by honey bees. It is edible and non-toxic, thus making it a great ingredient for skincare and clean beauty products.
This wax is great at creating a protective layer and trapping moisture as it’s a humectant. This combination makes beeswax a perfect ingredient in lip balm recipes.
Shea butter:

Shea butter is a fat derived from nuts. It comes from the African Shea tree. This butter is a very popular ingredient in body butters as it’s incredibly nourishing.
It is very thick and can be greasy if used on its own. When combined with other butters and oils, it provides incredible moisturizing properties. Shea butter is also edible and non-toxic.
And, even though this butter comes from a nut, it has a low chance of triggering nut allergies.
Cocoa Butter:

Cocoa butter is the fat that comes from the cocoa bean. This butter has a rich chocolatey smell (yum!). Cocoa butter isn’t just something that is used in chocolates. It also is great at creating a barrier on the skin to keep it from drying out.
This butter can also help protect our skin from sun damage. Cocoa butter is also filled with antioxidants which is great for anti-aging products.
Coconut Oil:

Coconut oil is one of the most popular ingredients in DIY beauty recipes. This oil provides so many great benefits for our skin. It protects skin from environmental damage, hydrates, and can minimize fine lines and wrinkles.
Also, because it absorbs easily, it won’t leave a greasy feeling on your skin. Coconut oil does have a high comedogenic rating (4). I use fractionated coconut oil which has a comedogenic rating of 2.
Sweet Almond Oil:
Sweet almond oil is such a powerhouse. It not only is great at moisturizing, but it also can lighten dark spots. Over time, our lips can lose their vibrant pink color and this oil helps even the tone.
Jojoba Oil:
Jojoba oil comes from the jojoba plant. This oil is also phenomenal at locking in moisture and has anti-aging properties. It absorbs quickly and does not leave behind a greasy residue.
Vitamin E Oil:
Vitamin E is a popular anti-aging gold mine. It’s no wonder it’s used in many skincare products. This oil is thicker than others and you only need a little bit to get the job done. Vitamin E oil is perfect for dry and chapped lips as it encourages cell turnover and leads to the skin regenerating faster.
Lavender essential oil:
Lavender essential oil is great for healing cracked lips as it’s anti-inflammatory and soothing. It’s a great oil to use during the winter months when the weather destroys our kissable lips. Lavender also is great at locking moisture in and hydrating lips.
Vanilla Extract:
Organic vanilla extract has many anti-aging benefits. Vanilla extract is more than just a nice scent. It also has anti-bacterial properties which can help heal your lips if they are severely damaged.
Plus it smells heavenly!
This post contains affiliate links. If you use these links to buy something I may earn a commission. Thanks!
Homemade Lavender Vanilla Lip Balm Recipe
Ingredients:
2 tbsp beeswax
1 tbsp African shea butter
1 tbsp Cocoa Butter
1.5 tsp Fractionated Coconut Oil
1.5 tsp Sweet Almond Oil
1.5 tsp Jojoba Oil
.5 tsp Vitamin E Oil
20-30 drops Lavender essential oil
*You can substitute vanilla essential oil instead of extract if you want a stronger vanilla scent. If you’re adding the oil, use 10 drops. If you use vanilla extract, your end product may look a little speckled, but it’s not super noticeable.
Notes:
- When purchasing essential oils, make sure they are pure 100% organic oils that are not cut with any fillers. Personally, I like Plant Therapy and Young Living for essential oils for their high-quality oils.
- This lip balm recipe makes about 9 tubes. If you want less, you can half the recipe.
Directions:
- Measure out ingredients.
- In a double boiler, add beeswax, shea butter, and cocoa butter. On low heat, let it melt until it is liquified.
- Remove from heat and add all 4 oils plus lavender and vanilla extract. If the mixture starts to harden, return to the double boiler to liquefy. The vanilla extract will not mix with the oils, but you can stir to distribute it evenly.
- Fill lip balm tubes with the mixture. Using a funnel helps avoid spillage.
- Let tubes cool before using.
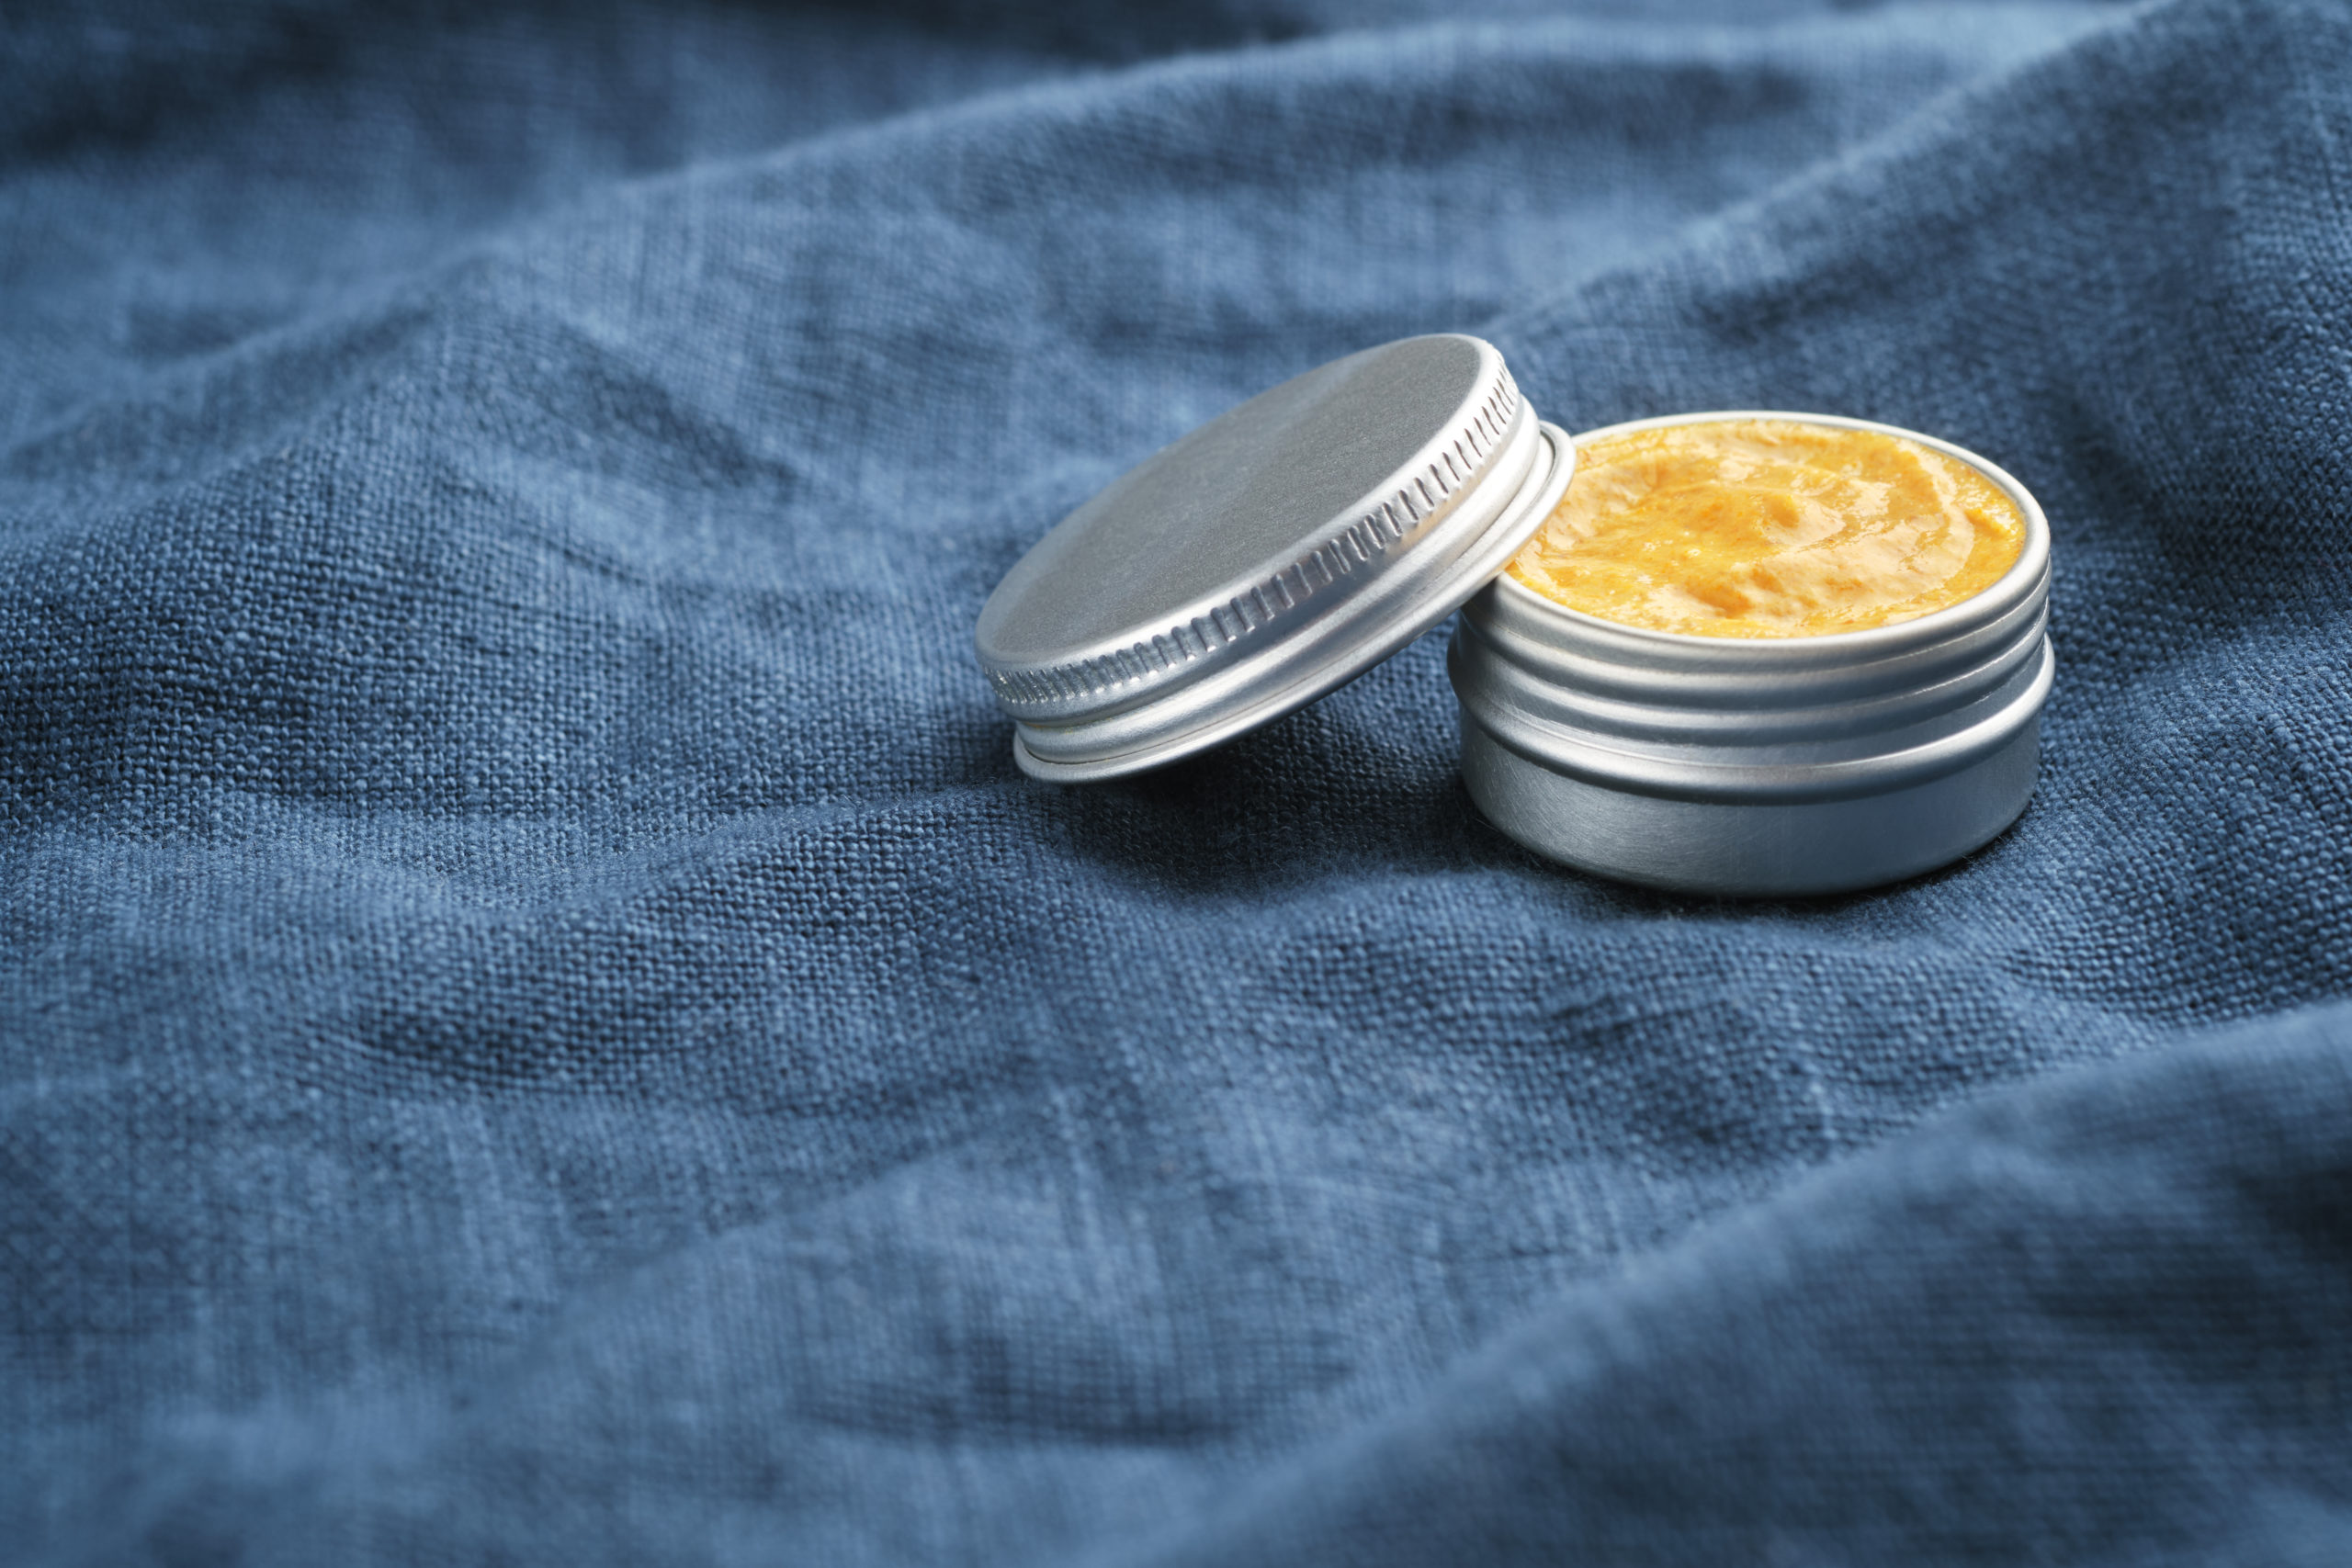
Makes 9 lip balm sticks. You can fill with tins instead if you like.

This DIY Lavender Vanilla Lip Balm Sticks Recipe is perfect to follow after a natural exfoliating sugar scrub. Try these 5 DIY lip scrub recipes.
Did you make this lip balm recipe? Comment below or tag me on Instagram (@by.bindi). I’d love to see your photos!